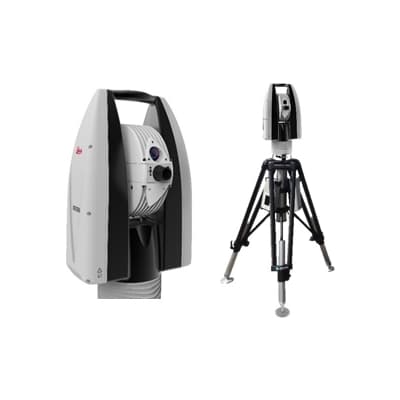
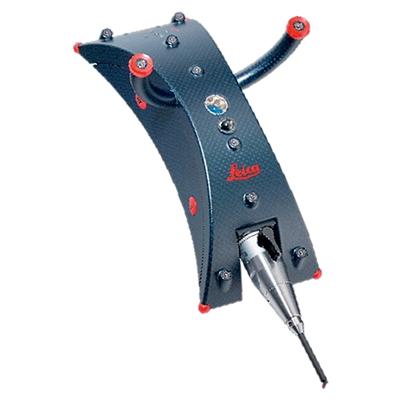
Mission
Increase inspection efficiency / Improve quality / Inspect shapes by comparing with CAD

Solution
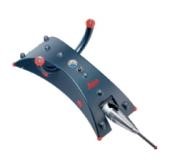
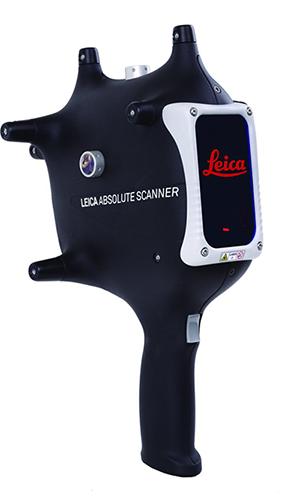
Using T-Probe enables us to measure points, hole diameters and hole positions, while using AS1 Scanner enables us to compare shapes with CAD on-site, when combining each of these items with the Leica Laser Tracker AT960 system.
Proposal Contents
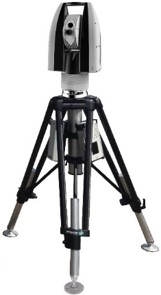
Leica Laser Tracker
AT960(SR)/MR/LR/XR + Reflector+T-Probe+AS1 Scanner+ software (PolyWorks, etc.)
Leica AT960 is a portable measuring system that is efficient, productive and easy-to-use.
The main objective of a new system was to shorten the inspection time. Combining multiple system tools has enabled high accuracy and significant time reduction.
System Configuration
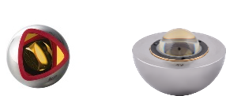
Reflector / SCE Reflector
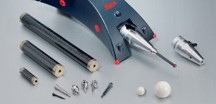
Stylus set
System Image


