- Mission
-
- Eliminate damaging the products, errors caused by operators’ skills, and data transcription errors due to writing.
- Minimize the occurrence of defective products by trend management.

Solution
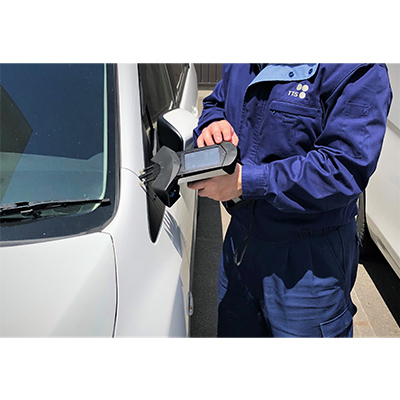
It is possible to avoid making scratches on the product with the non-contact laser measurement, hardware correction eliminates measurement variations due to operators’ skills, and human error is prevented by inputting measurement data directly to a PC.
Additionally, by linking the measurement data with the server, it is also possible to prevent omission of defective products and predict the occurrence of defective products in advance.
Proposal Contents
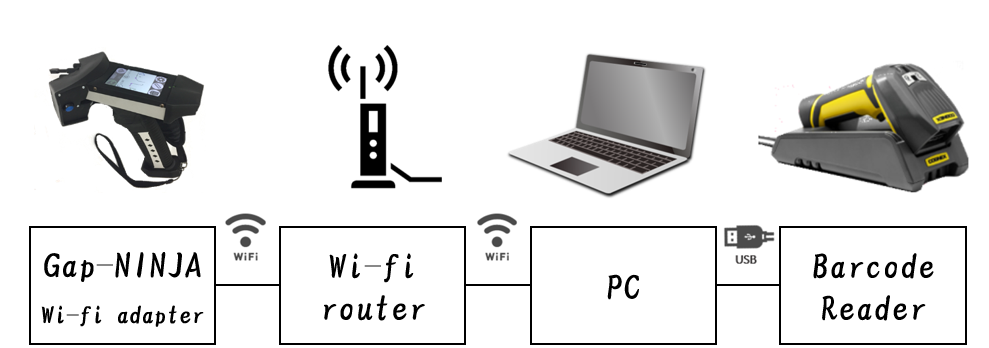
Gap-NINJA(Measurement device)+GN-Plus(Analysis software)
By using the dedicated software GN-Plus, the pass / fail judgment can be instantly confirmed on the spot simply by performing the measurement with creating a reference value from the CAD value before measurement.
The result is output in text format or CSV file, so it can be easily read and compiled in Excel.
Using macro functions such as VBA, it is also possible to automatically input measurement results to Excel.
System Configuration

makes it work
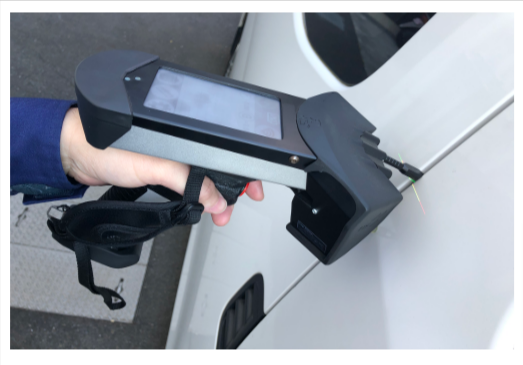
- Measurement time is merely 1 second.
- The result is shown on the display at hand.
- The operation is quite easy with a touch panel

System Image
Gap-NINJA can be used alone even without a PC.


