Unprecedented non-contact measuring solution with high precision for hot working
- Mission
-
- There is a demand to see the dimensions of hot-working products such as pipes, ring parts, ingots, and large forged products at every step of molding so that the hot processing can be carried out smoothly to meet the required dimensions for each process.
Currently, workers repeat production and manual measuring back and forth operating manufacturing machines by their experience. Such a situation makes time loss which results in production cost oppression.
- As conventional non-contact 3D measuring devices did not work for such hot processing of about 1,ooo degrees Celsius, there was no way to improve this situation.
- There is a demand to see the dimensions of hot-working products such as pipes, ring parts, ingots, and large forged products at every step of molding so that the hot processing can be carried out smoothly to meet the required dimensions for each process.

Solution
Measuring systems that can be operated with a single button on a measuring machine enables instant measurement for metal products under the hot processing. Because of this, the time loss during the production has been reduced, and efficiency of processing and production has increased for one operation.
Proposal Contents
1. Real-time measurement system for steel and processed parts during smelting
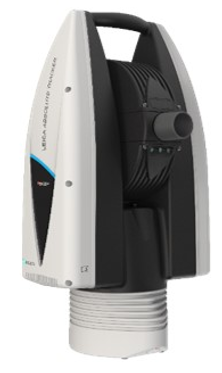
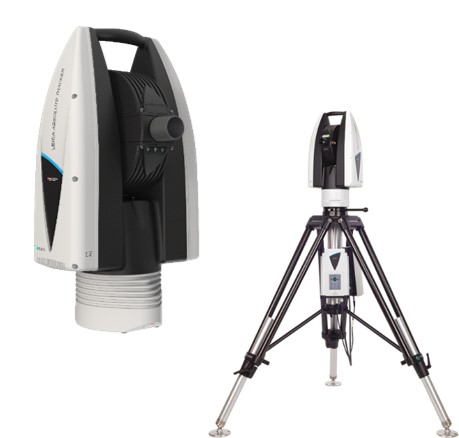
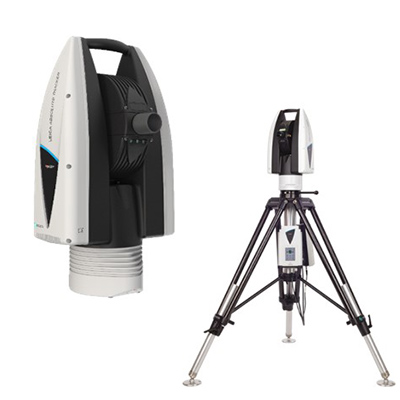
Using two ATS600 systems, product management and 3D measurement during smelting (hot working) are achieved.
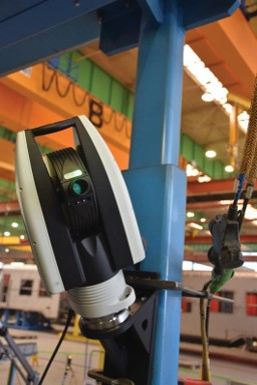
By placing the systems on wall, ceiling, or floor in a way that they sandwich the object to measure, each system can measure the width, diameter, and thickness of the object precisely with their non-contact laser scanning (target accuracy is within 1.5mm).
Although 3D measurement used to be not available due to the temperature in hot processing, scanning by the ATS600 is not affected by the temperature due to the maximum measurement range of 60m. As long as the machines are placed in enough distance to avoid the heat, they scan the object precisely, including luster and colors occurred to the object by the heat in the processing.

2.Dedicated operation screen (GUI) and engineering
In order to judge quickly, a dedicated operation screen (GUI), auto-processing analysis macros, and an auto report generation function were built.
With this function, any users can easily see the measurement result within 30 seconds, by just pressing a button. It’s because macros for all the required operation commands have been implemented in the screen. Also dimension information and reports are automatically created, and those statistics can be easily managed.
TTS tested hot measurement system performance repeating accuracy test with gauge and finally proved that specified accuracy can be achieved with low noise.
As a result, the problem was resolved and production cost has been largely reduced, and it contributes to the reduction of dangerous manual measuring work in the hot processing.
System Configuration
- Leica ATS600 system (2 units)
- System installation stand
- Dedicated GUI
- Auto-calculation macro
- Report generation and statistics function


It is required to build the auto-measuring system with 2 units of ATS600 system, system installation stand, dedicated operation screen (GUI), linkage with the current system, and report generation function first.
The system can be operated on the dedicated operation screen (GUI) or measurement software in an operation room or PC placed far from the processing site. Required measurement information such as the width, height, and diameter, can be output by easy setting. Report and tendency management is also easy so any user can handle.


