- Mission
-
Currently, the quality results of metal casting products are recorded on paper and then transferred to Excel, and there is problems of transcription mistakes and old data that has lost its freshness are analyzed. Also, because reports are not generated in real time, if the problem is not identified and the root cause cannot be resolved, there are possiblities of repeated product quality issues such as porosity, inclusions, burrs, material shortages, cold flow, etc. With ATS Inspect, it is possible to analyze fresh data in real time without being affected by a transcription mistake.

Proposal Contents
ATS Inspect smartly digitizes the inspection process by replacing this ineffective system with paperless data collection. All inspection data can be immediately analyzed via web-based reports, so you can drive time-consuming improvement activities and identify root causes of defects and scrap.
ATS Inspect does not simply collect data, but uses the data to influence real process improvements and reduce costs.
- Improvements can be expected from the beginning
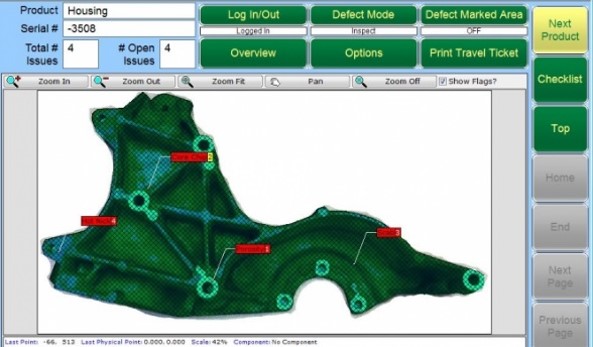
Product quality issues are quickly and accurately recorded in product 2D images or 3D CAD models. Various inspected numerical data such as weight, wall thickness, hole diameter, and other measurements are also collected and can be analyzed to keep them within the specified values.
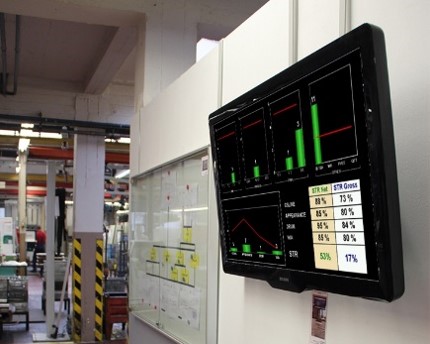
Problems can be directly fed back to the cause of failure via a monitor or display on the production line, so that corrective actions such as injection pressure change, gate position change, chemical compounding adjustment, and other corrections can be made quickly. It can be taken and the occurrence of defects can be prevented. - Prevent defective products from leaving the factory
- Prevention of data falsification through digital traceability
- Reduction of inspection costs
- Automatic reports triggered by scheduled events
- Quick return on investment
System Configuration
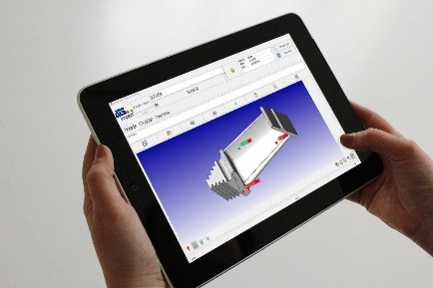
System Image
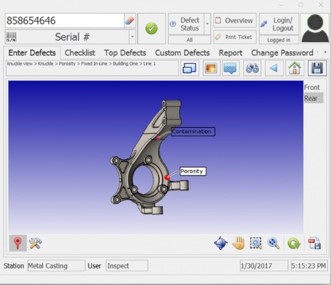
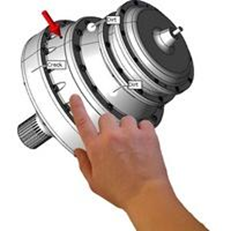
by tapping the tablet screen
