- Mission
-
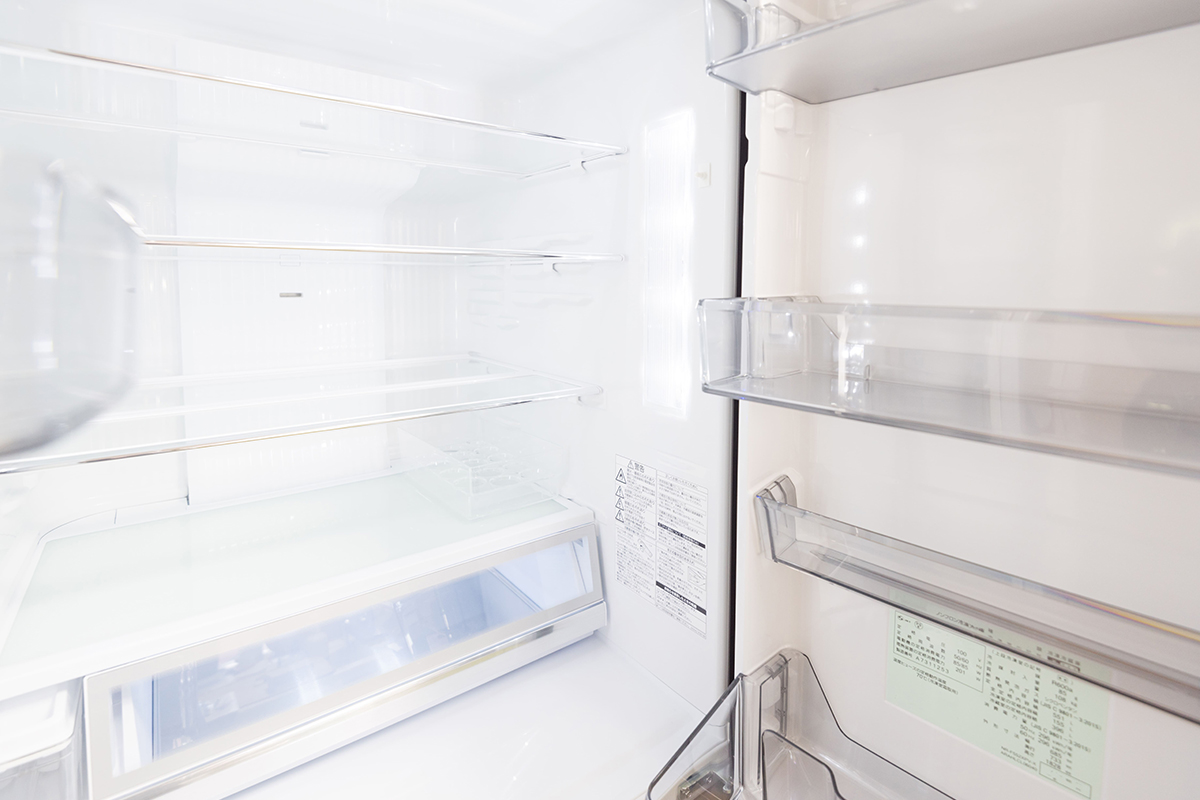
Buying a new premium refrigerator is a big investment, so customers expect perfection when unpacking the product. Appearance defects are unacceptable, so an inspection system that eliminates such defects must be built during the manufacturing process.
When handwriting input into a traditional paper-pace document, simply checking for defects on the check sheet will not allow the repair person to know exactly where the problem is and must guess. Also, no additional status will be provided if the document has a repaired mark. As a result, the responsible person needs to go around the various inspection points and then go to the repair area to see what the current quality situation and the biggest problem is, and the document is complete It takes hours to create a quality report. Also, despite the time spent, the information gathered does not contain enough detail to improve the process.
What are the challenges here?- Working with paper-based documents, it is difficult to communicate information to other workers
- Where is the defect? How did you repair it? Is hard to understand
- Defect analysis is taking time. I want to automatically calculate and report on the top of defect names
- Lack of detailed information that can be used for quality analysis
Solution
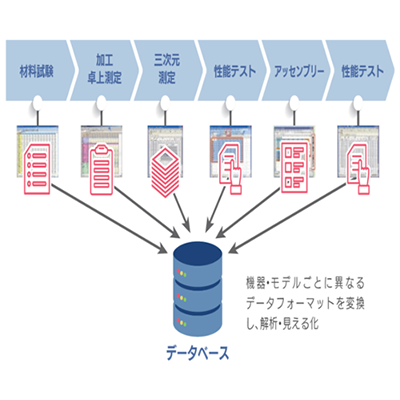
By digitizing defect information at the time of product inspection and recording it directly in the database, even a product with many options can be collected, analyzed and reported in real time during the manufacturing process.
Proposal Contents
ATS Inspect smartly digitizes the inspection process by replacing this handwritten document with a completely paperless data collection.
When the inspector enters a specific serial number on the screen, the appropriate images and options from various models are displayed.
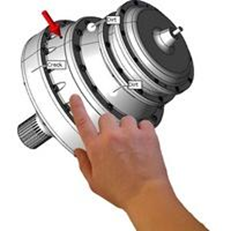
The inspector can then pinpoint the fault location of the appearance on the 2D or 3D image of the unit. The results of functional tests for each unit can be registered manually or connected directly to ATS Inspect from the tester device. Repair personnel can see the same image as the exact location marked by the inspector, along with details of the defect (size, importance, responsibility, etc.). In addition, you can check the defect list and register the repair details that you have dealt with, and if necessary, you can also register the time it took to repair (for quality cost calculation).
By recording this information directly in the database, test data can be immediately analyzed in real time via web-based reports, minimizing the time spent collecting data We can promote improvement activities that should be applied and activities that identify the root causes of defects and scrap. ATS Inspect does not simply collect data, but uses the data to influence real process improvements and reduce costs.
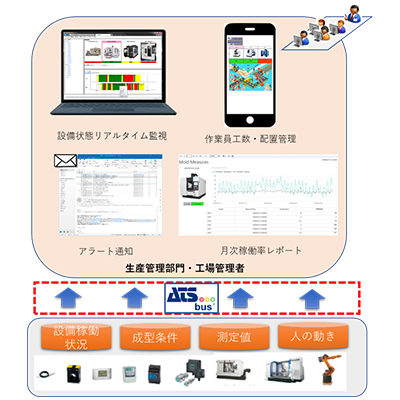
System Configuration
System Image
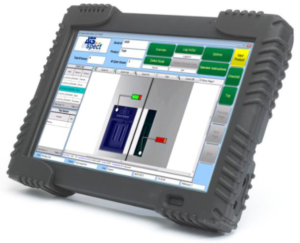
by tapping the tablet screen


