Quick non-contact measurement of tube push, bend and rotate values.
- Product Description
-
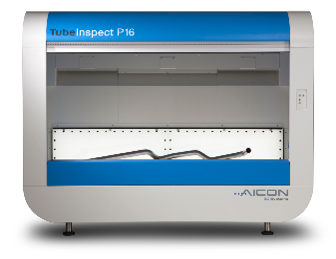
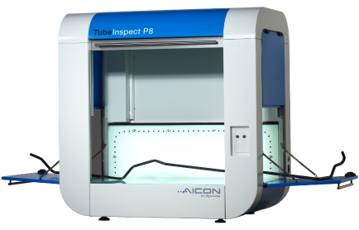
TubeInspect measures the shape of tubes with silhouettes in a few seconds.
Tube inspection generally requires jigs for each pipe shape and expert performing inspection on the tube and then making corrections on tube bender. doing this work, an issue arises concerning how to shorten the task of setting conditions for the tube bender.
With TubeInspect, there is no variance due to the operator, and anyone can easily and quickly perform inspection and calculate correction values for the tube bender. Greatly reducing the time to set conditions for the bending machine increases production efficiency and is expected to give a return on investment in the early stage of its use.
Product Features
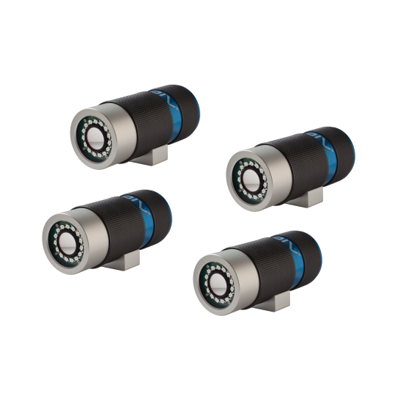
- Non-contact test with silhouette evaluation: Using images captured by multiple cameras, edges are extracted from the tube silhouette and its center line is calculated. Can also measure soft shapes such as rubber because it is non-contact.
- Anyone can easily just place it: The tube is placed in the measuring area inside the equipment and then the measuring button is simply pushed to complete the measurement.
- Measuring time only takes a few seconds: Although it depends on the shape, the measurement takes less than 10 seconds.
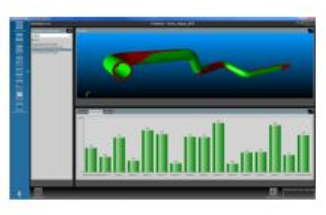
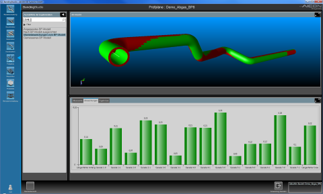
- Immediate pass/fail judgment: A comparison inspection with the reference values simultaneously calculates an immediate pass/fail decision (optical gauge), bending point coordinates (X, Y, Z) and bend factors (push, bend and rotate).
- Bending machine best parameters are also simultaneously calculated: Bending machine correction values are also automatically calculated, and a settings file can be sent via the server.
- Reverse engineering: Can calculate the bending point and bend factors for tubes with no drawings.
Product Specifications
| TubeInspect P16 | TubeInspect P8 | |
|---|---|---|
| Measuring range | 2,600 x 1,250 x 700mm | 1,000 x 580 x 400mm |
| Camera resolution | 2M | 2M |
| No. of cameras | 16 | 8 |
| Tube length (When replacing the tube and measuring) |
2.5m (7m) |
1.0m (2m) |
| Tube diameter | 3-200mm | 1-125mm |
| Bend angle | 1-340° | 1-340° |
| Repeat measuring accuracy (Sheath tolerance: 1σ) |
±0.085mm | ±0.035mm |
| System size | 2,980 x 1,640 x 2,300mm | 1,140 x 746 x 1,140mm |
| System weight | 1,300 kg | 240 kg |
| OS | Windows® 7 64 bit / Windows® 10 64 bit | |


