spScan
IKEGAMI MOLD ENGINEERING GROUP
3D measurement data processing software with automatic and manual adjustment in a fine balance supporting reverse engineering
Starting its operation in 1934 and being established as a company in 1945, Ikegami Mold Engineering Group is specialized in manufacturing plastic injection molds, providing molds in various sizes, from middle- and large-sized ones for automobiles and home appliances to small precise molds for medical devices. As a manufacturer highly acclaimed for its contribution to customers with accuracy, which assures micron-level precision, and short turnaround time, the company has been developing its business all over the world through domestic bases as well as overseas subsidiaries in the US, Mexico, China, and Thailand, promoting international specialization.
In addition, the company’s advantage over other competitors is its proactive attitude for creation of new business through setting up a market development division under direct control of the president. In addition to high-level mold manufacturing know-how that supports manufacturing from the base, the company has been recently focusing on reverse engineering as a new service.
The company has already accomplished reverse engineering in the manufacturing of aircraft parts, 3D emblems, and old insert dies, and is now considering moving into new fields with its knowledge of molds, such as figure manufacturing targeting the comics market, which does not attract big manufacturers, and emboss processing, including texturing, graining, and engraving, by manual chemical etching, which is difficult to produce on a large scale. For both cases, high-speed manufacturing at low cost could be expected by generating CAD data for product surfaces or processing solids from polygon data.
In order to reflect technical strength gained from mold manufacturing and fine adjustments on CAD data, processing software that allows intuitive processing of scan data from a 3D measuring machine is required. For that purpose, the company chose “spScan” by Tokyo Boeki Techno-System. We interviewed two employees from the company about how the company uses the machine where processing is left in the hands of overseas technicians.
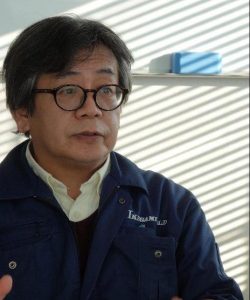
Mr. Masaya Ishikawa, Manager, New Market R&D Department
Mr. Akihiko Aigami, New Market R&D Department
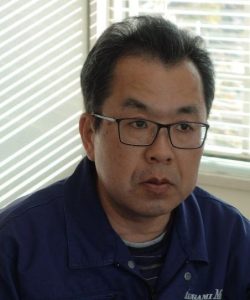
They are mainly engaged in reverse engineering along with the development of new services and products that would replace mold manufacturing. As field technicians, they are utilizing their knowledge about molds and technical strength as a specialized manufacturer for the preparation of expanding their business to other areas. Mr. Aigami is also in charge of personnel training at overseas subsidiaries for promoting overseas operations.。
Promising candidate for future business, “reverse engineering”
Interviewer (I): I know your company has already achieved so much in mold manufacturing. So, I wonder what made you to start reverse engineering?
Mr. Masaya Ishikawa (MI): We already had a 3D CMM measuring machine to measure molds and molded objects. If there are hundreds of measurement points for one object to be measured, measurement itself takes a few days. It was not really practical, so we purchased a 3D non-contact CCD measuring machine. Our president suggested that this function could be used for other projects, and it led to the launch of our reverse engineering project.
We introduced the CCD measuring machine in 2015 and the reverse engineering project launched in September, 2016. So, it has been only a year and a half. For conversion from polygon data to CAD data, we use the “spScan” software from Tokyo Boeki Techno-System.
I: Did you introduce “spScan” at the same time as the 3D measuring machine?
MI: No, we were using software from a different company. We had been using it for about one year and I started hearing “it is a bit tricky to use” from my colleagues. So, we decided to review the software only. The software we used to use was similar to “spScan,” both of which convert a polygon into a surface; however, the first one required detailed manual work. So, with it, by setting detailed parameters, you can create each surface precisely as designated. But the required manual work was too detailed to achieve a balance between the time and effort we put into the work and the output we wanted from the work.

There was another candidate software from another company, which was completely automated as opposed to the first one. It could create a surface from data on a system quickly as long as it recognized the data as “possible.” However, it recognized it as “impossible” if the requirements were not completely satisfied. In addition, a surface from fully-automated processing is hard to partly modify, so it is not suitable for detailed work, like “make only this part changed in this way.”
In reverse engineering, it is necessary to manually add or modify missing or incomplete parts, in addition to converting obtained data into a surface. We also wanted some level of automation from software, along with the needs that manual work by skilled technicians should be involved in surface creation. Both of our needs were perfectly met by “spScan.”
I: So was your first impression of the software very positive?
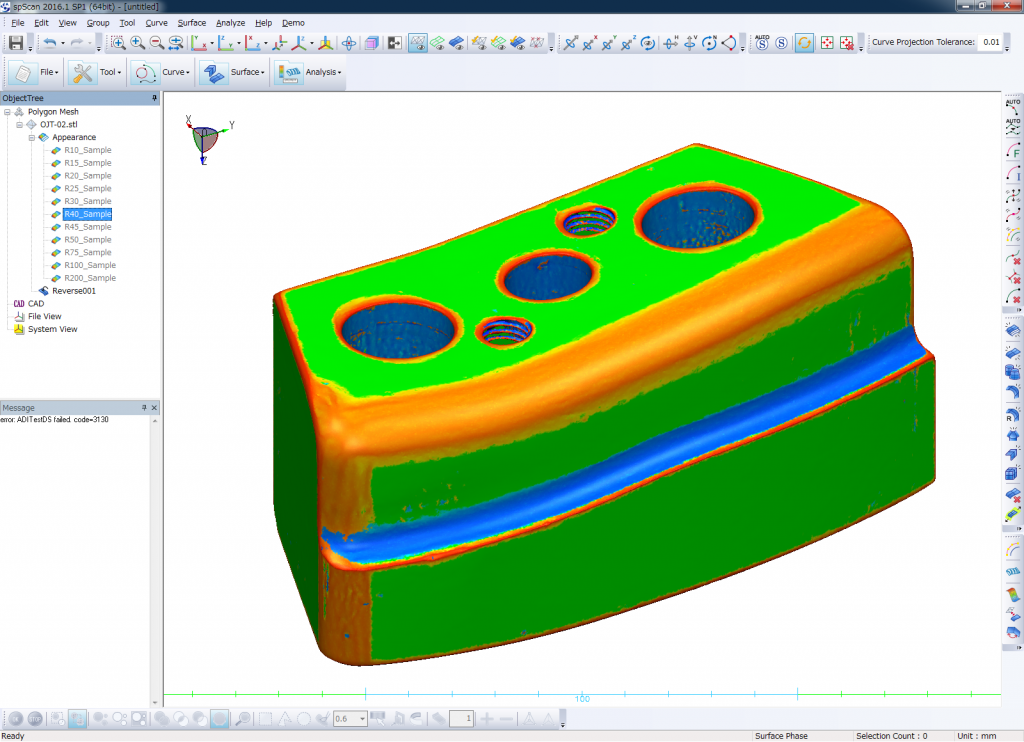
Yes. Surfaces created by CAD have a “flow,” which allows me to intuitively know bent parts and flat parts, so it helps me a lot to judge any necessary modification, such as “this angle should be changed” or “this has a different surface.” These kinds of things are hard to be recognized only with polygon data or numeric data, so I thought the color coding of sensory information by “spScan” was very convenient and useful.
Color coding with various conditions is available at the stage of converting scanned data into a surface. So, by coloring large surfaces with green and bent parts in red, I can quickly imagine the overall shape at a glance of the display. For measurement data without color, I could imagine the shape vaguely but not intuitively at all. Since the introduction of “spScan,” I believe the time taken to scan and set the shape has been shortened considerably.

I: So, the software has exactly what you want on site.
Yes. Upon preparing our reverse engineering project, we train technicians for surface creation in our Philippine office. I think “spScan” contributes to the improvement of their skills. With this software, you can see how to operate it without detailed explanation and intuitively recognize any places to be manually modified upon surface creation. We could finish the training in a much shorter time than the scheduled training period and now they can work on their own.
At first, the trainees started with almost zero experience of using CAD or drawing software. So, when I was heading for training, I thought it would take a lot of time, bringing lots of materials. But contrary to my expectations, it was very easy. Regardless of the country, people can intuitively recognize the shape with this software. We are often told that “your reverse engineering project launched very quickly,” and I believe it is thanks to this software.
Deep knowledge about molds enables accurate reverse engineering
I: In your reverse engineering project, what kind of products have you worked on?
Mr. Akihiko Aigami (AA): The basic flow of reverse engineering is to receive a product from a customer, scan it with a CCD measuring machine, create surfaces using “spScan,” convert it into CAD data, and give it to the customer. We have worked on airplane parts. We only had hand drawings from the 1960s to 1970s, so we had to trace them, examine them against measurement data obtained from actual airplane parts, and discuss with the customer in detail about how to convert the data into new CAD data.
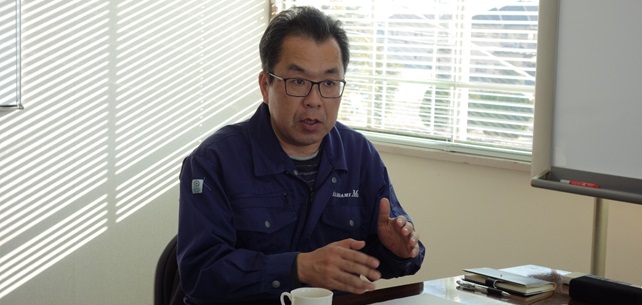
The key in reverse engineering is that an object is not simply re-created based on the original drawing. Reverse engineering is not simply compensating any missing parts. For example, this airplane part has a separate part to be assembled onto the tip, which may have been worn out after being used for many years. If you don’t re-create the airplane part taking into consideration the other part’s wear, it won’t work successfully. Meanwhile, if there are any defects due to wear, we also need to compensate for them upon re-creation. The re-creation of parts and adjustment among the re-created parts are where technicians can show off their skills.
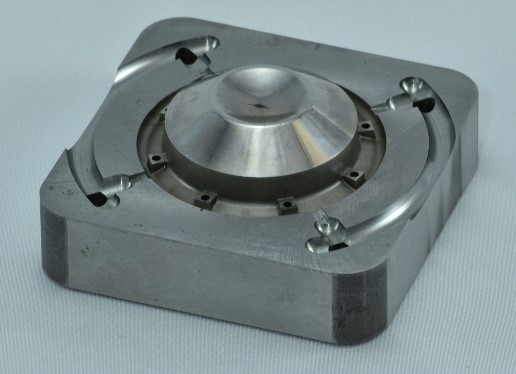
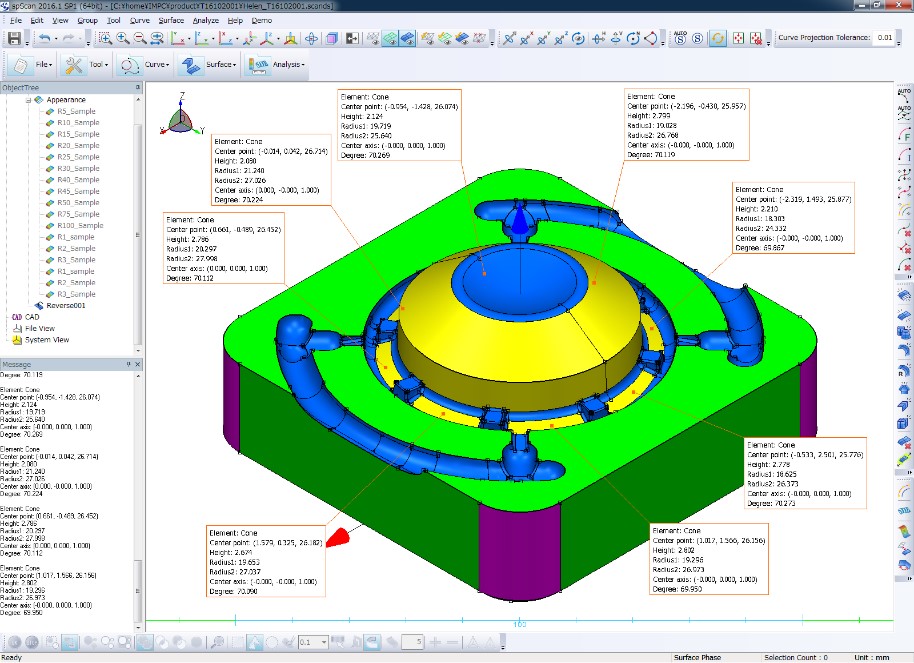
Measurement sample and reverse-engineering
For this kind of work, if we use software that won’t allow detailed modifications, it will take a long time. Since we have been working on molds for many years, we know which parts of molds are more susceptible to wear and what level of modification our customers require. Using “spScan,” we can work comfortably to convert such details into data by switching between automatic and manual operations.
The most difficult part in converting polygon data into CAD data is actually to create a shape not completely matching the polygons. Even if the shape is not matching the polygons, we are asked for processing similar to CAD modelling. I don’t know a lot of software that is flexible enough to deal with this request.
I: If you can deal with data intuitively without any complex parameters, you can get ahead of schedule.
Yes. Moreover, with reverse engineering technology, we can be even quicker because our customers won’t need to make a mold from scratch. Recently, there are many cases where our customer has a mold but the mold manufacturer doesn’t exist anymore due to going out of business. If we have to disassemble the mold and re-create each of the parts, we have to start from design, which would be difficult. However, if we can scan the existing mold and make some adjustment against the original data, we can largely reduce the labor cost and man-hours.
We sometimes borrow an existing mold, disassemble it into parts, and re-create the necessary parts only to obtain mold data or assemble the parts. This way, if it is quick, we can complete the process only 1/10 of the time of the conventional method.
I: Did you expect that you would get such requests before starting the project?
Not really. We often notice new needs after we get our customers’ requests. After one and a half years of the project, we have realized that our customers have problems over a much broader range of fields than we expected. So, we value the time to talk to our customers face-to-face, not just offering proposals to them.
If we spent time talking to a customer, new tasks to be resolved emerge, such as “Can you do this then?” along with related ideas and requests from both sides. I believe there are more unanticipated uses of reverse engineering.
We aim for “reverse engineering unique to a mold specialist.” We don’t just scan an object and generate data. We can generate added value in the processing and advice that can be given only by a mold specialist. For the future, we are planning to further expand our project through exhibitions and demonstrations.
About Ikegami Mold Engineering Group
Founded in 1945, Ikegami is a manufacturer specialized in plastic injection molds for various applications, including home appliances, automobiles, medical devices, and food containers. They receive highly difficult and quick turnaround orders from customers and meet their expectation by performing accurate high-speed data processing using the latest CAD and CAM and NC processing and post-processing fine adjustments by skilled workers. They have recently launched a reverse engineering project. The company has been enhancing its reputation with its outstanding capabilities as a mold specialist.
Product used in this case study
spScan


