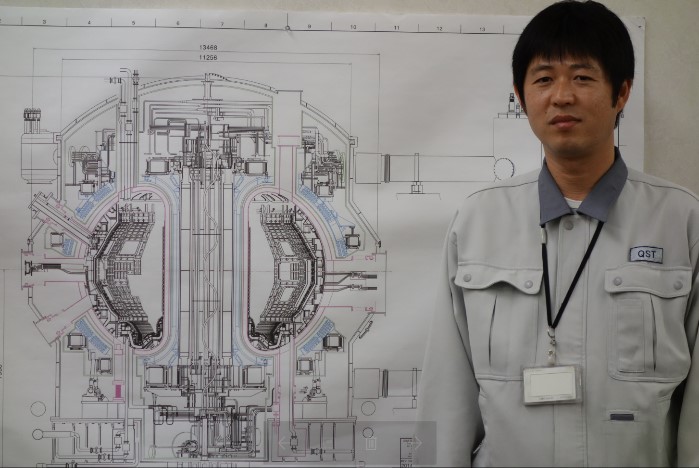
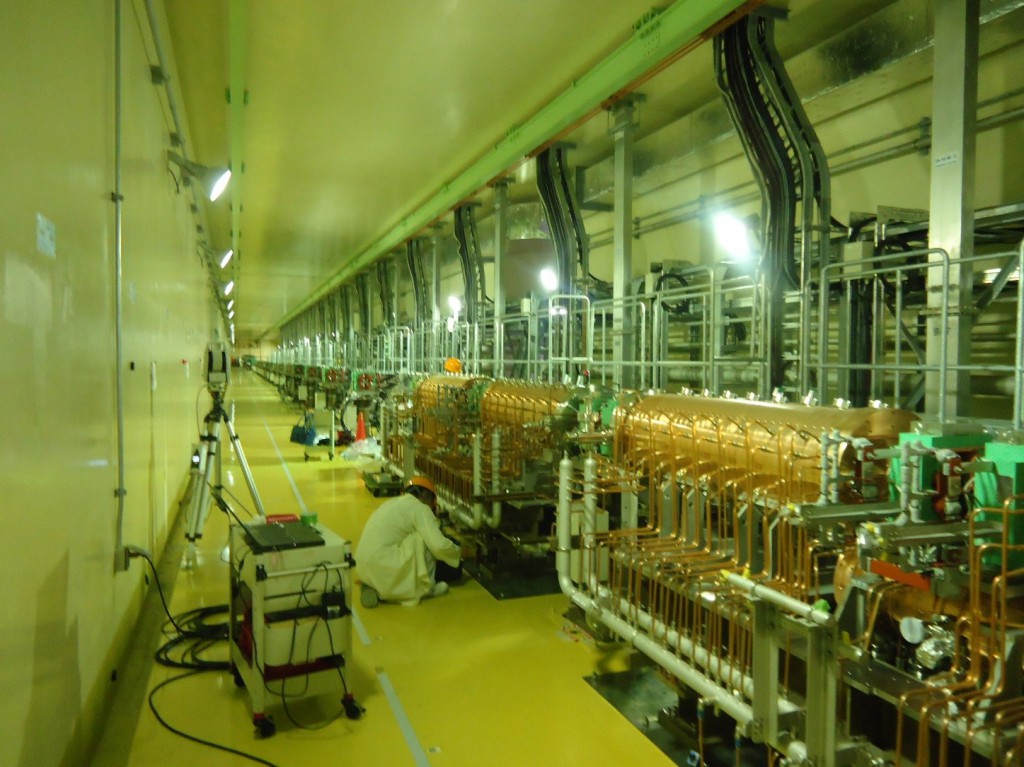
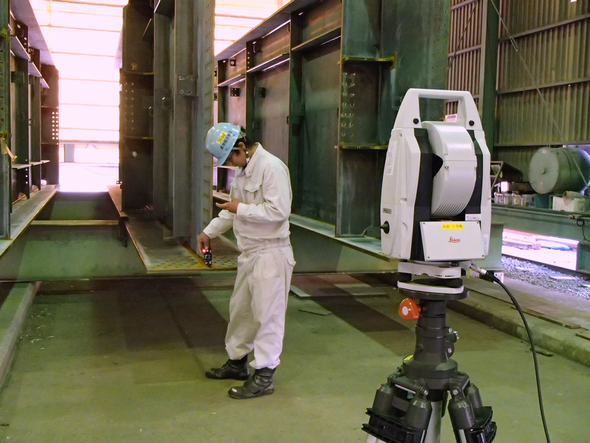
・Large parts, cultural assets and coordinates of plant lines
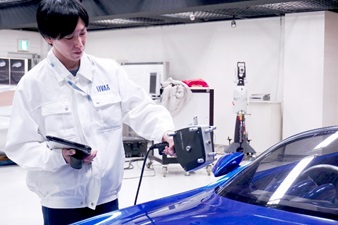
・Rapid measurement using a non-contact three-dimensional measurement device
・In order to deal with a wide range of customer’s needs
Hara Seisakusho Ltd., with its headquarters located in Ueda City of Nagano Prefecture, has changed its business style according to the changing needs of the times since its foundation in 1952, and from 2008 it has deployed as a reverse-engineering company that conducts on-site and commissioned measurement business across Japan.
Using a 3D scanner for scanning of products, molds and old products of which drawings are now lost to reproduce their CAD data.
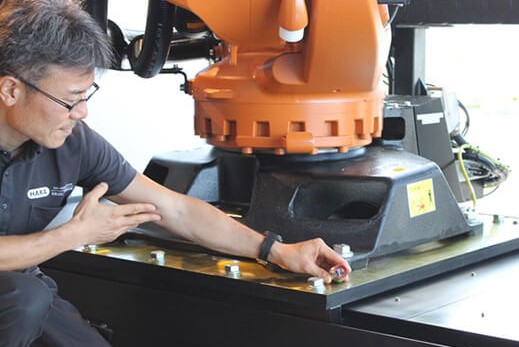
In the process, various 3D devices are utilized. In addition to an optical instrument that radiates light that draws coordinates to capture objects with a camera, the company has a range of equipment that enables them to deal with a wide range of objects that customers want to measure, including those of types using marker or X-ray. Among them, the introduction of a laser-tracker non-contact 3D measurement system widened the filed of measurable objects.
The laser-tracker method enables measurement of objects that used be difficult to handle such as products with a length of more than 10 meters or cultural assets (properties) for which delicate handling is required.
It was September 2017 when they introduced “Leica AT960LR/T-Scan/T-Probe” all at once from Tokyo Boeki Techno-System Ltd. They’re aggressively appealing to customers that they have become “capable of what previously could not be done.”
President Yosuke Hara was involved in design support for automobile manufacturing at a previous workplace. At that time, he said he noticed the fact that while being successful in streamlining a process by data analysis or design utilizing 3D-CAD, the speed decreased in the process of realizing actual products. He thought that if he improved test and measurement methods and offered the service to customers, the business could be profitable. And he put the idea into practice in 2008.
We interviewed him to ask why he had his eye on the laser-tracker non-contact 3D measurement system while handling many measuring devices and dealing with a wide range of objects brought from customers, and what he thought important as a measurement-specialized company.
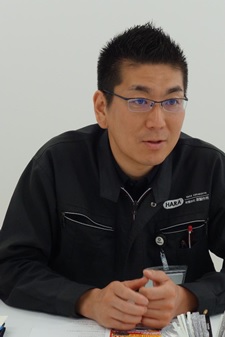
Yosuke Hara, Representative Director & President
After working for a previous firm in the field of design support for automobiles, he joined in Hara Seisakusho Ltd. setting up a 3D measurement group in 2008 as the base of a commercial enterprise.
Installed as Representative Director in 2014, he strategically promoted the Company CI Plan and the sales promotion project to build a brand as a measurement-specialized company. Besides the in-house measurement service, he also put efforts into making the scanning technology widely known.
We want to introduce a flagship machine also for the laser-tracker system
Your company focuses on on-site and commissioned measurement as the main business. Could you tell me what led you to commercialize measurement service?
Yosuke Hara (referred to as “Hara”): The founder of Hara Seisakusho Ltd. is my grandfather. After shifting the business into the field of manufacture of communication devices and magnets, the company saw a steady increase in sales, and started a machining business in 1984. When I joined in the company, my father was the second-generation president and the machining business constituted the maim pillar of the company. I began thinking to establish other business lines as new and profitable divisions to grow the company. It was the measurement business that we arrived at in the end.
When I worked for the previous company in the field of design support for the auto industry, efficient product-making using 3D-CAD had already been realized. But even if data showed that analysis or processing could be done rapidly, the speed decreased in the process of making an actual product. In particular, inspection and measurement methods still required the intervention of human hands, such as in the handling of Vernier or height gauges – thus presenting a bottleneck.
In such a situation, I learned of 3D scanners, and when I tried using one, I had the feeling that it was good tool bridging analog and digital. To think of all the number of people involved in product-making in the world, if we offered the service specialized in this process, we might be able to help them, I thought. And the thought was realized in the 3D measurement group set up in 2008.
Huge economic recession triggered by the Lehman Shock in 2008
Hara: I had advanced preparation by that time, and the establishment of the new business happened to bump into the so-called Lehman Shock. In the first year, we hardly made any sales, and began our business mainly visiting potential customers and bowing our heads.
In spite of the fact, I had confidence in the measurement service itself. The inspection and measurement process would never disappear if manufacturers continued using 3D-CAD in product-making. I believed that if we continued to offer the specialized service, the market would eventually come to appreciate it.
As 3D-CAD is widely used by customers for improving product-making efficiency, the number of people who hope to own measurement devices also is on the rise. But since to purchase measurement devices requires a certain amount of investment, if the frequency of use is not so high, then outsourcing measurement to a company with excellent equipment is a technically more reliable and cost-effective choice. Furthermore, because we had developed measurement skills before the establishment of the measurement service, we were confident of our superiority to other companies in know-how.
Sometimes we received requests that were difficult to handle from customers in the expectation that “Perhaps Hara Seisakusho Ltd. can deal with our requests” or contacts about objects that were not accepted by other companies. I have a feeling that we have accumulated trust from customers every time that we cleared such requests.
Starting from the optical measuring device, you adopted Leica’s laser-tracker method in 2017.
What was your motivation to choose Leica while handling many types of measurement instruments?
Hara: A limitation in size is inevitable for measurement. For objects of more than 10 meters, preparation is needed just to obtain coordinate information, requiring human hands and time. In addition, sometimes halation was caused due to material type, and some objects were unmeasurable by a contact-type instrument due to the condition of the surface, increasing the cases where the conventional devices couldn’t do the job. We reviewed the introduction of the leaser-tracker non-contact measurement device as the resolution to these challenges.
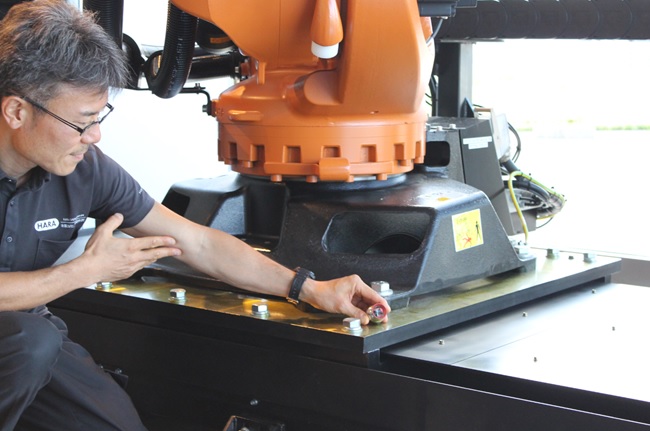
As we used a flagship machine for the optical instrument, we wanted to use a flagship machine for the laser-tracker method as well. We were thinking to have the highest-performance machines of both types so that we could say “If the measurement is difficult for us, then it certainly will be for other companies, too.”
Among the several candidates, we selected Leica’s product, which can measure and process a wide range of data at high speed.
While other laser-type products are limited in their range of movement because they are attached with arms, T-Scan and T-Probe are portable and good at measurement of a wide range. We hoped to be able to deal with any range since objects of various types were brought to us.
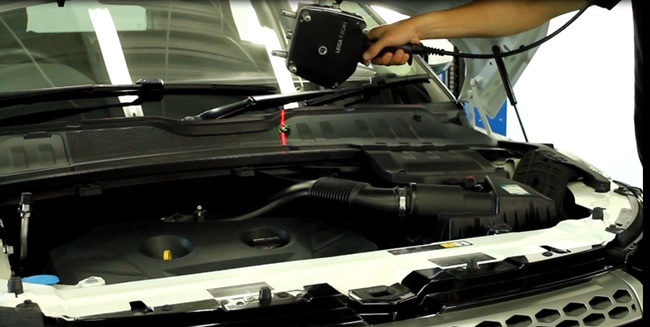
Even measurements that were previously impossible can now be answered that “We can do it.”
What kind of benefits has the introduction of the laser-tracker method brought?
Hara: Above all, we can respond “We can conduct this measurement” to customers whom previously we had to refuse. Before, we had to refuse some 30% of customers, but thanks to the laser-tracker method, now we can deal with 10% of those customers.
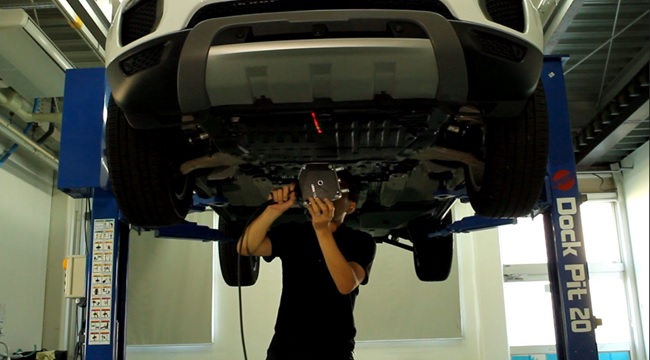
The laser-tracker & laser-scanning methods can accurately measure large-size objects which had been unmeasurable by measuring instruments previously, the accurate coordinate of a robot’s position against the operations on a production line, the places that were too narrow to set an instrument, and objects which require dynamical measurement of their motion.
The first object we measured after the delivery of Leica was the large-size model of a Zero jet fighter hooked on the wall of an exhibition hall.
We had to measure accurately up on the unstable, high scaffold with a requirement prohibiting contact with the surface, which was coated delicately. The measurement of this object would be impossible if not for using the laser-tracker method.
It must be hard to measure large objects.
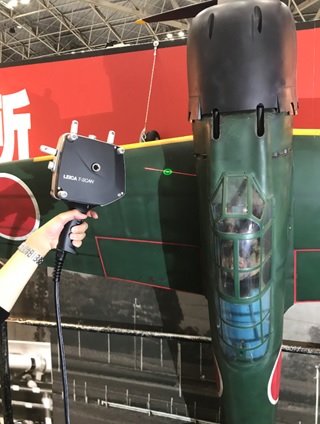
Hara: Right. Some parts of airplanes, space projects, railway, heavy machinery or power generation equipment that we handle sometimes are above 10 meters in length.
The laser-tracker method system is very useful for it can measure over a long range accurately.
Since T-Probe can measure from the viewpoint of the tracker large recesses or the back side of an object where laser cannot reach directly, it reduces the need to move the tracker each time. As the result, measurement efficiency improved.
While the methods capable of a high-precision measurement of large works are limited, we have an impression that Leica is especially strong in the measurement of large-size objects.
There are still more objects that cannot be handled by other devices but which can be measured by Leica. For instance, if you have to measure both devices which are attached on walls facing each other at a 15-meter distance, you can measure each object by a conventional scanner accurately, but it would be hard to measure the positional relationship between the two devices and the room at the same time by other instruments. Leica works well for such measurement.
It also makes it possible to digitize or import to CAD data phenomena by tracking a conveyer robot to obtain motion trajectory data.
Didn’t you have any concern or anxiety at the introduction?
Hara: I often met the staff from Tokyo Boeki Techno-System Ltd., sharing information of trends in measurement or new products. I frankly asked questions coming up before the introduction. To be specific, questions about support contents, calibration, or the operation of the device.
I made contacts directly to the technical team for technical matters. Even now we solve problems by contacting them by phone to ask about the operation of software or the content of measurement errors. Their clear, prompt responses are very helpful, particularly when we have some trouble. We think that the instrument itself is an extremely good machine and use it with absolute trust.
How will you expand the measurement business in the future?
Hara: A business specialized in measurement service is evaluated not only through measurement itself but also through flexible response to customer’s true needs regarding the utilization of obtained data or the purpose of the measurement. We will continue to seek for deep understanding of our customers and offer the best technology solutions.
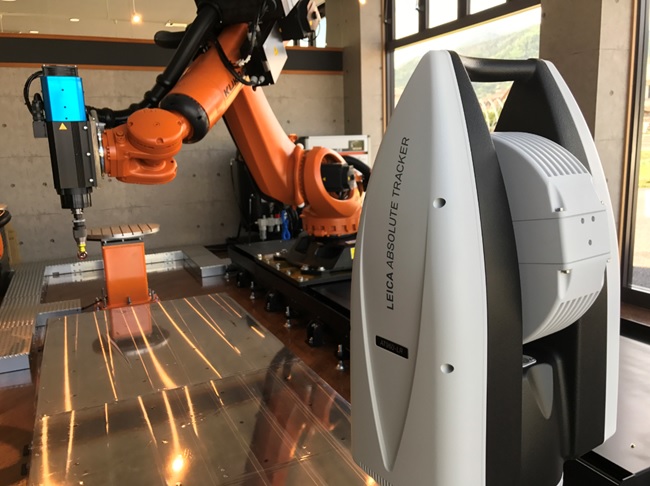
Recent needs are not limited to making products from data, like in the case of reverse engineering. The requests have increased for accurate measurement of space information, such as that to get a coordinate for adjustment of a line or machine, or to reexamine the positional relationship between a robot’s trajectory and operations on a manufacturing line.
The laser-tracker measuring instruments are also good at dynamical tracing, and we can find the problems needing to be solved from the obtained measurement results.
We would like to make an effort so that the measurements for which the special features of Leica can be utilized are well understood by customers.
Hara Seisakusho Ltd.
Established as a sweets-manufacturing company in 1952. After changing the business to the manufacture of communication devices and magnets, it introduced a milling machine, polisher and lathe to start a machining service in 1984. Toshimichi Hara, the second-generation president, succeeded to the helm of the company in 1988 and increased sales in the field of monozukuri, or product-making. Yosuke Hara, the third-generation president, set his sights on the potential of 3D measurement and CAD data creation. In 2008, a 3D measurement group was set up in-house. At present, the manufacturing division is split into a separate company and Hara Seisakusho Ltd. is delivering good performance as a company specialized in on-site and commissioned measurement business.
http://www.hara-sss.co.jp/
【Product used in this case study】Leica Laser Tracker


