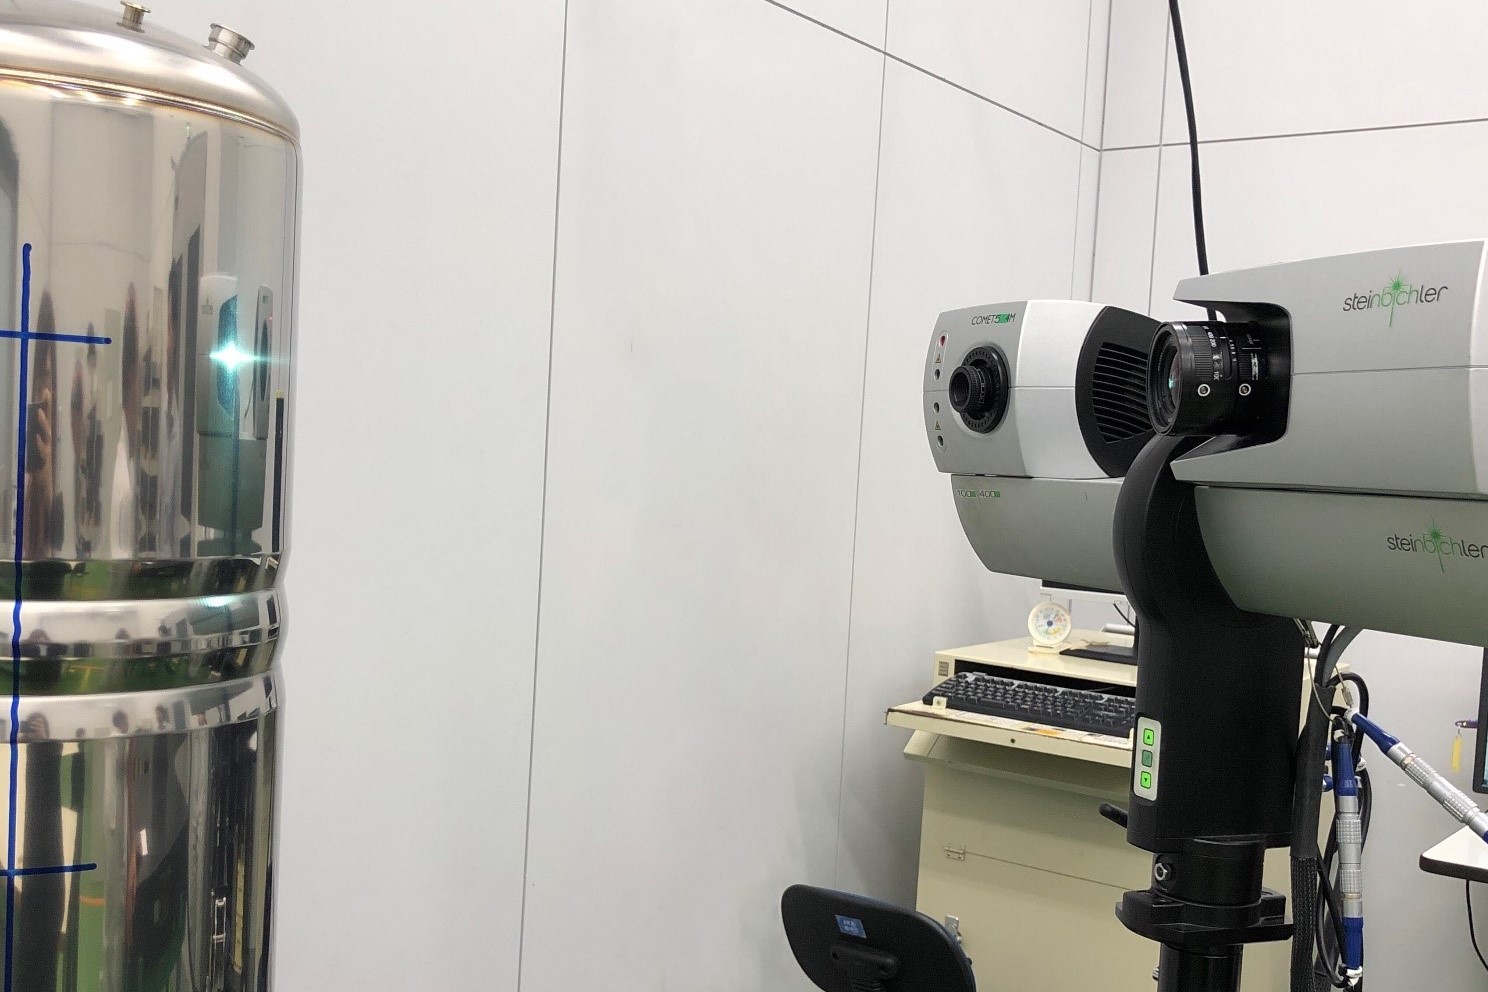
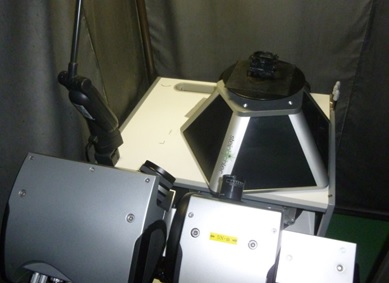
COMET(This model is no longer in production and sales.)
Y-TEC CORPORATION
・Manufactures high-tensile strength steel to make vehicles lighter.
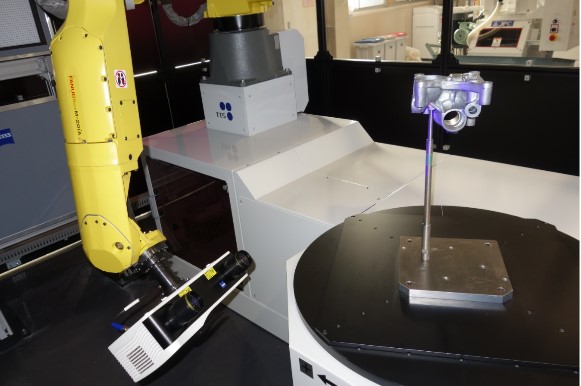
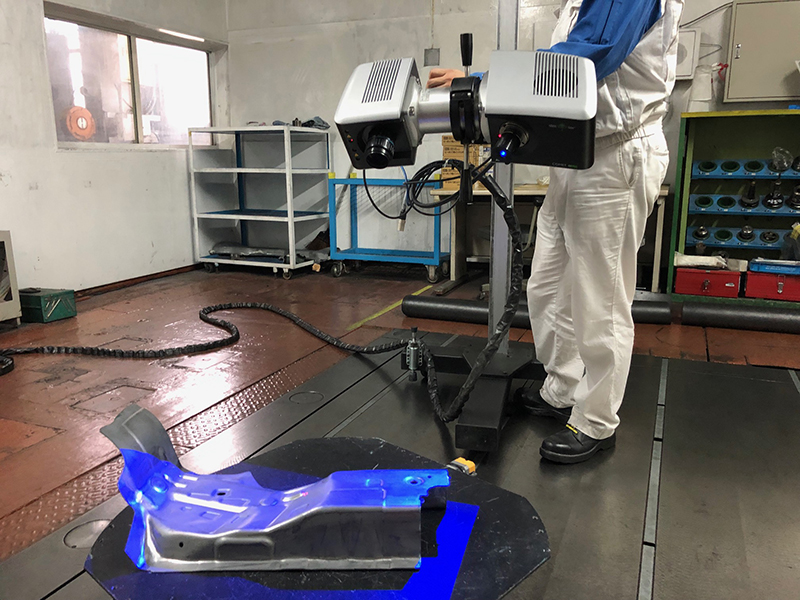
・Non-contact 3D measuring machine enables them to measure the processing panels with high accuracy and create high-quality panels in a short term.
Y-TEC CORPORATION supplying parts to several major domestic automobile manufacturers designs, develops and manufactures large parts such as vehicle chassis and bodies, functional parts such as pedals and levers, and transmission and engine parts that complete complicated mechanism. They always pursue improvement of quality under the challenging conditions such as the safety standard which gets stricter year by year and shortened delivery term.
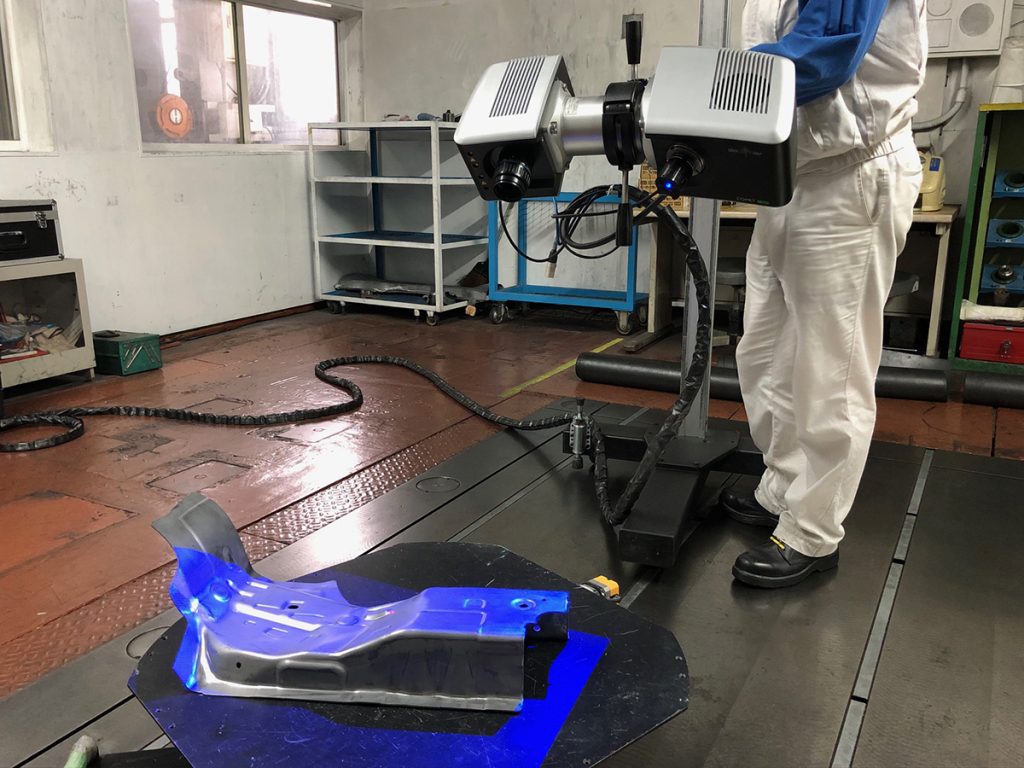
Not only the quality of their works, they also care about work environment for their employees in the factory. They reviewed the production line from an ergonomic point of view and changed it so that even employees with lack of strength can work without burden, and introduced a mechanism that makes it easy to handle large parts by applying physical mechanism. Thanks to the device, it has become a workplace where many women work, which is unusual in the industry.
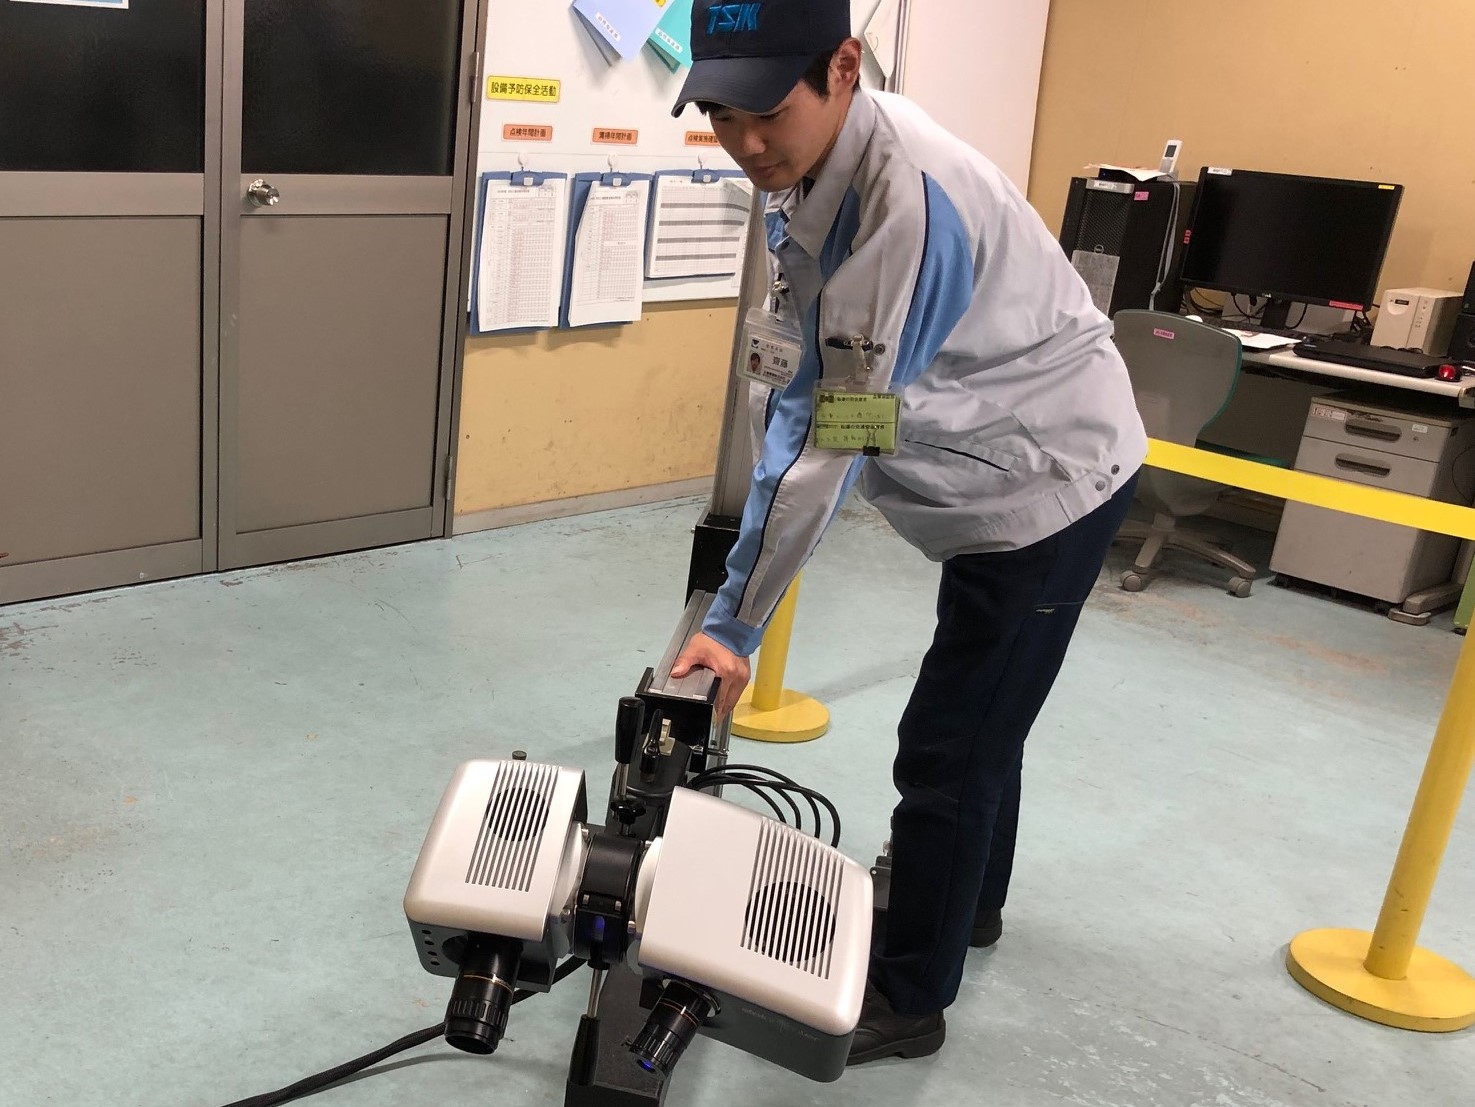
In recent years, demands for high-tensile strength steel (HTSS) which is thin and holds high strength have been increased due to the progressed technologies in the auto industry. The stronger the material gets, the more difficult it is to mold it into a panel, and it requires accurate measurement analysis and correction at the earlier stage before it gets too late to remold it. In order to make it smoother and accurate, they introduced “COMET”, a non-contact 3D measuring machine which Tokyo Boeki Techno-System introduced in March 2015.
We interviewed them to ask what kind of problems they had with conventional measuring devices, what kind of changes they’ve had since COMET was introduced, and other related stories.
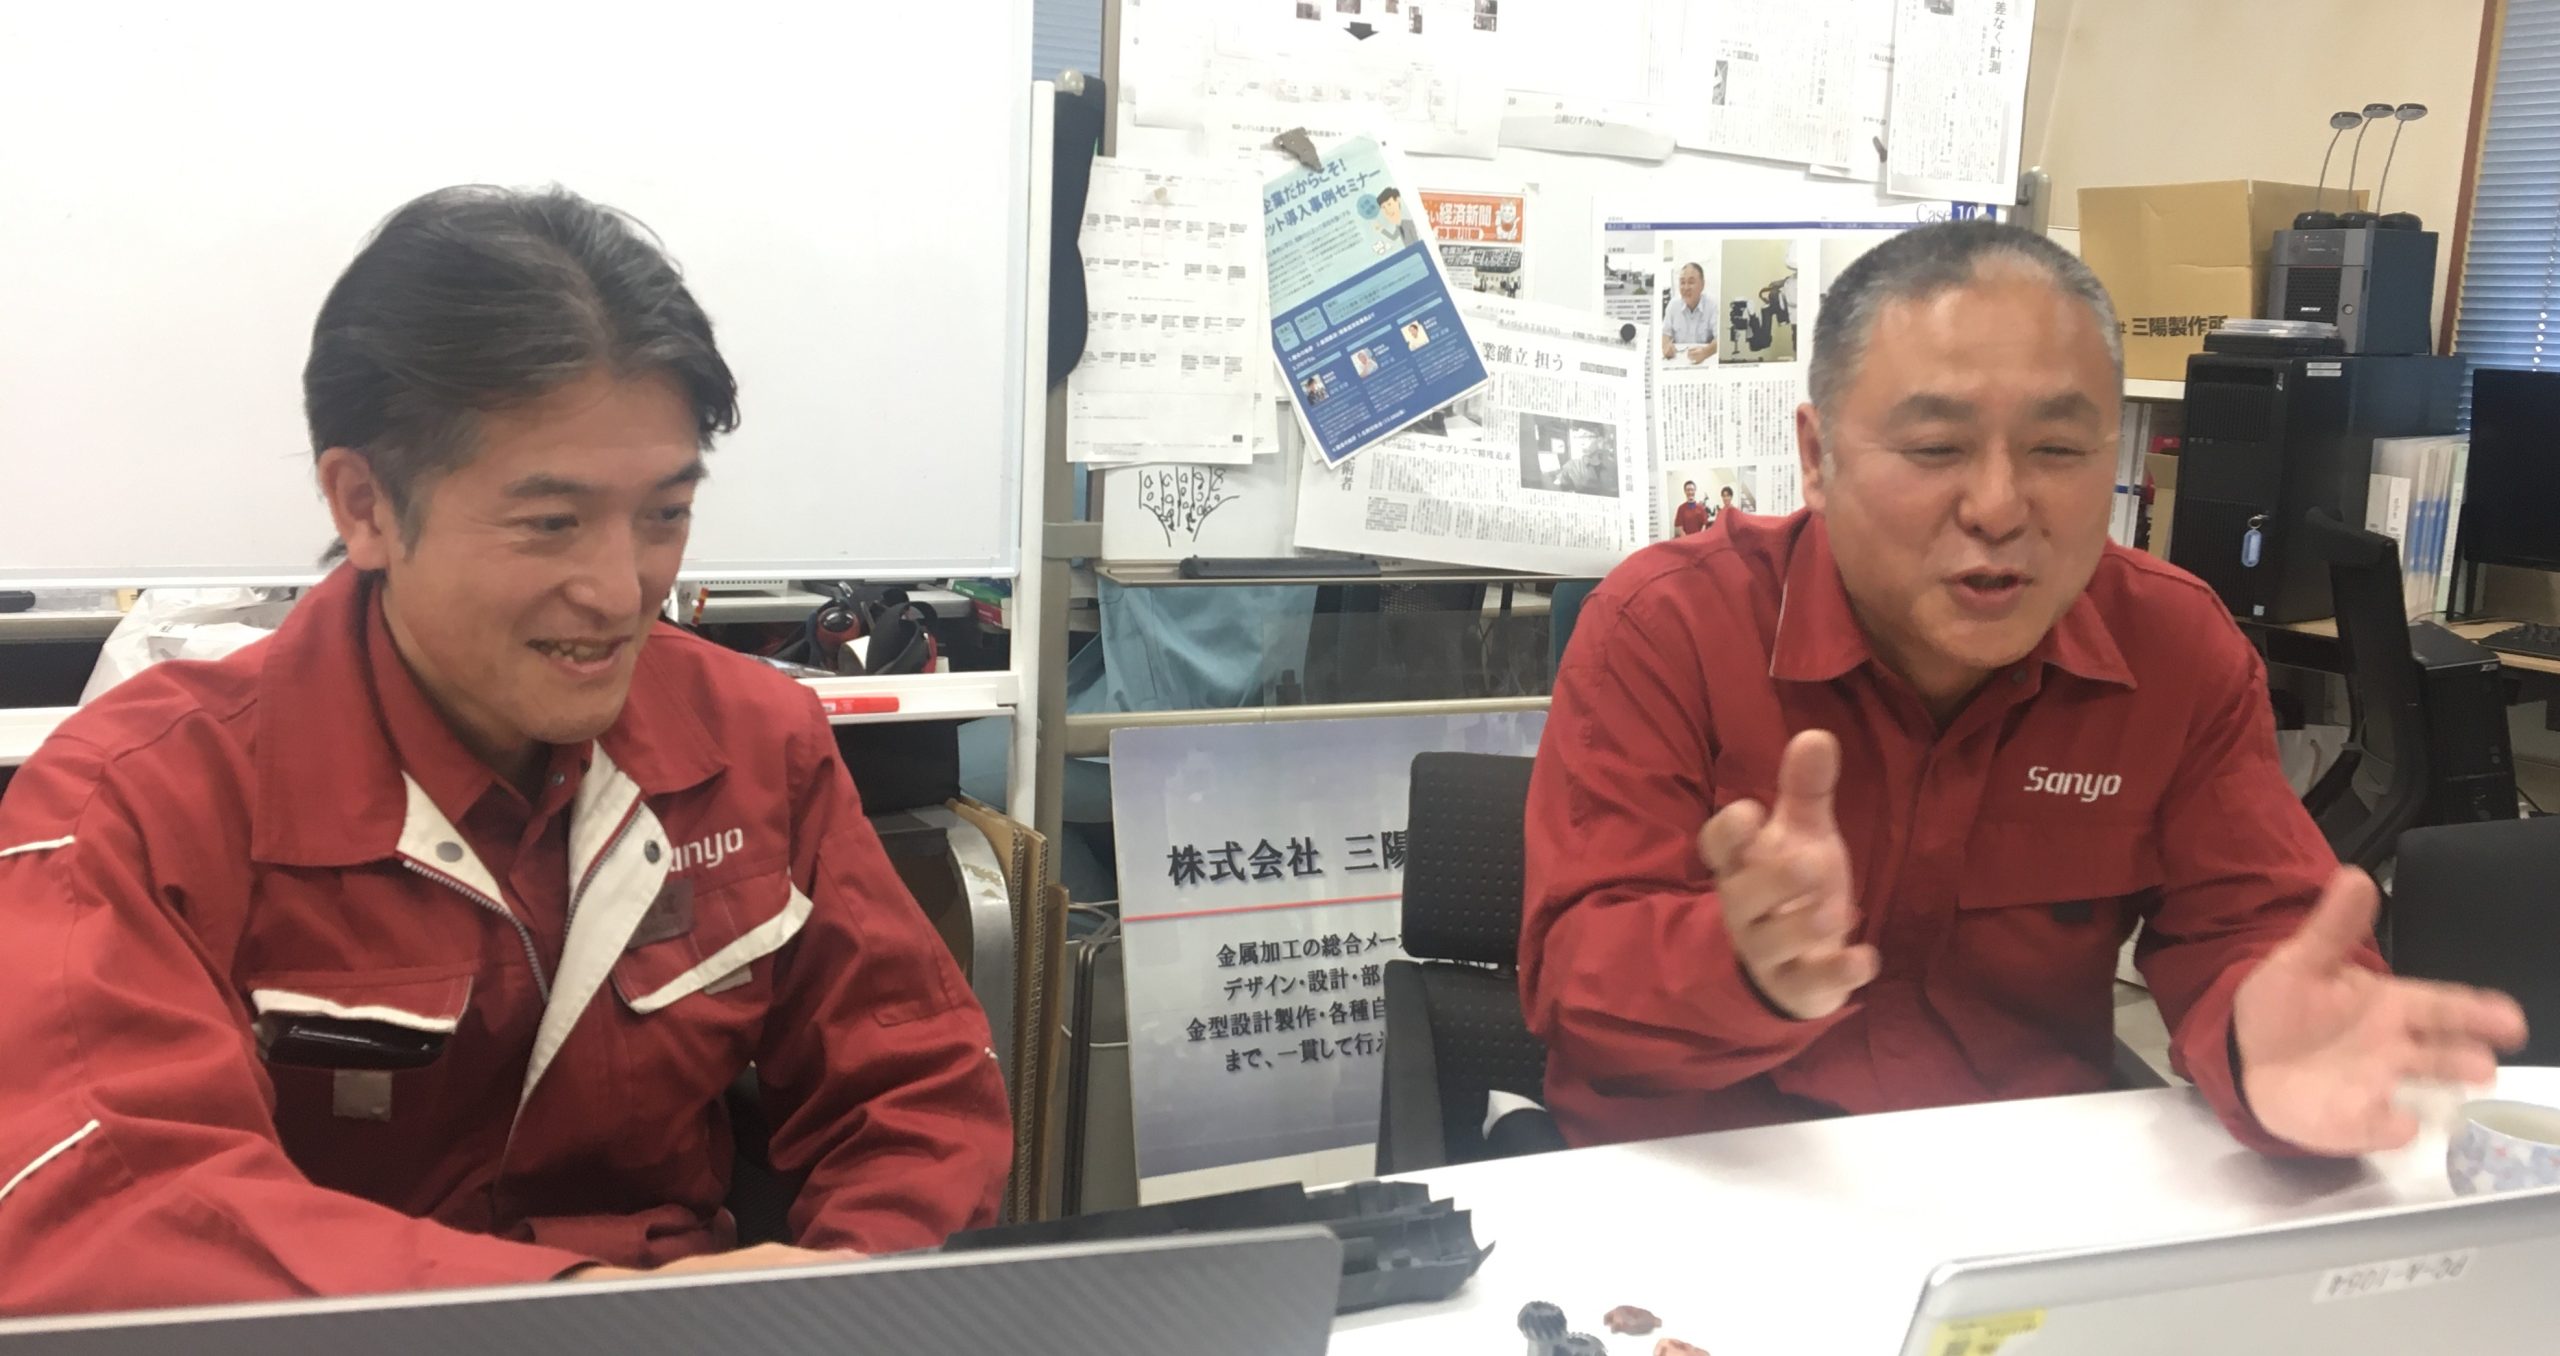
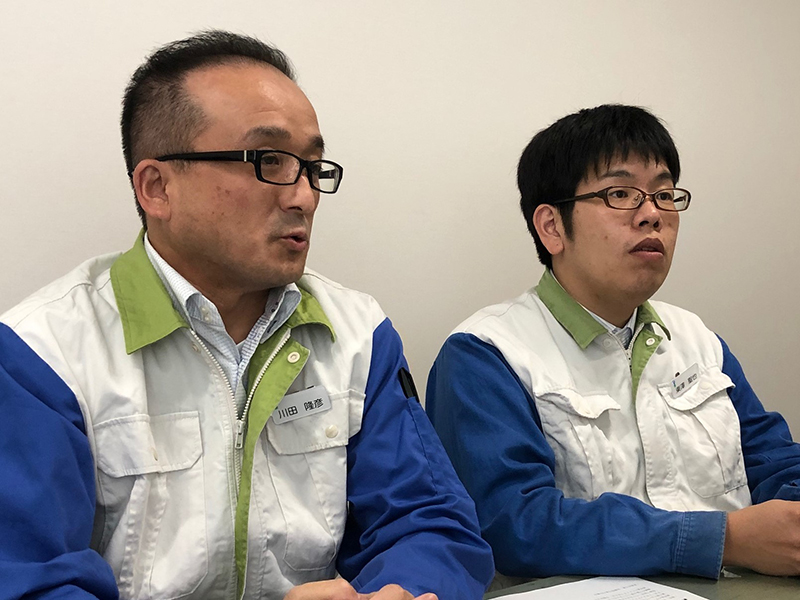
Mr. Takahiko Kawada,a Chief of Simulation Group, Press Engineering Dept.
Mr. Kawada is in charge of simulation applications and moldability evaluation based on the measurement result of finished panels and molds after pressing.
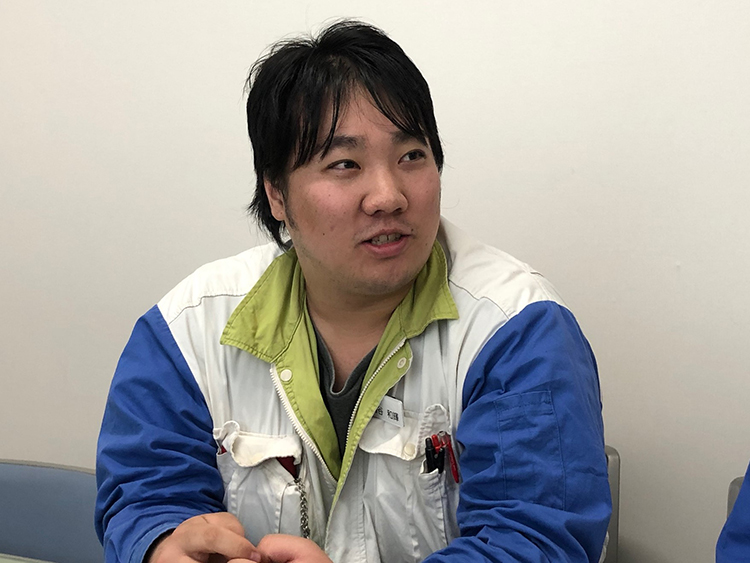
Mr. Seiya Higashizawa, a member of Simulation Group, Press Engineering Dept.
As a part of Simulation Group, Mr. Higashizawa is in charge of accuracy improvement by sharing the information he gains from measurement and analysis. The new technology for plate thickness measurement that he has invented is on process of patent registration in cooperation with Tokyo Boeki Techno System.
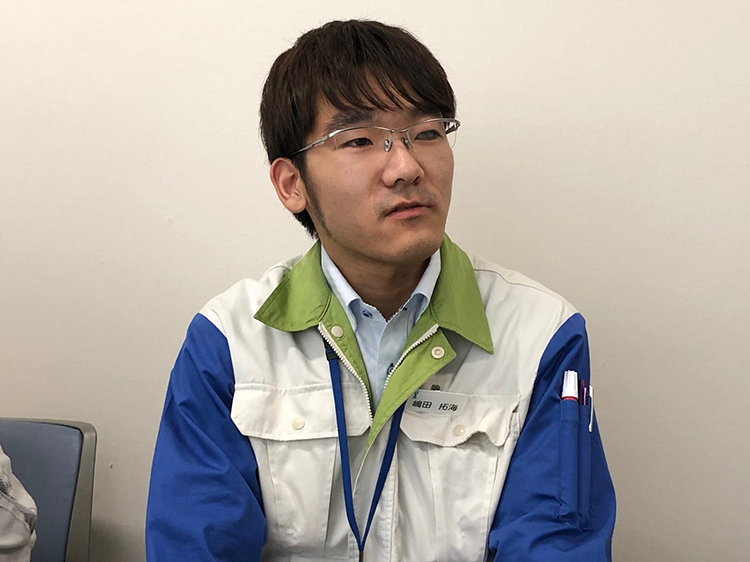
Mr. Takumi Shimada, a member of Simulation Group, Press Engineering Dept
As a part of Simulation Group, Mr. Shimada is in charge of improving measurement efficiency with commands as well as comparing measurement result with CAD data and share the information with other departments.
Mr. Kazuki Masutani, a member of Die Production Group, Die Production Department
Mr. Masutani is in charge of improving the accuracy of measurement by using data extracted from Simulation Group and telling manufacturing engineers’ opinions to analyzers at the molding site.
Measuring process panels measurement has become compulsory due to a new material introduction.
Your company introduced the non-contact 3D measurement machine “COMET” in 2015. What made you choose the machine?
As a significant background, the whole automotive industry as a whole started focusing on “high strength and weight reduction of vehicles” considering environmental performance and collision safety. Among these, materials with extremely high strength such as high-tensile steel and ultra-high-tensile steel were used. Even if the plate thickness is reduced, the same strength as the conventional steel plate can be obtained, and the parts can be significantly reduced in weight.
The more hardness the material has, the more processing problems there are, such as cracks, wrinkles, and spring-backs (a phenomenon that the press-processed part on the material goes back to the form before pressed.) That’s why pursuing the accuracy is quite challenging and it requires several times of shape measurement and accuracy-estimated corrections. Therefore, we wanted to realize the process of measuring the panel in the middle of molding from the earliest possible stage, grasping exactly what was wrong, and fixing the bad point pinpointed.
Previously, the main purpose was to check the finished panel, so we used a laser measuring machine. However, considering the increased number of process measurements and the handling of large parts, it is much more convenient to introduce a new non-contact 3D measurement system.
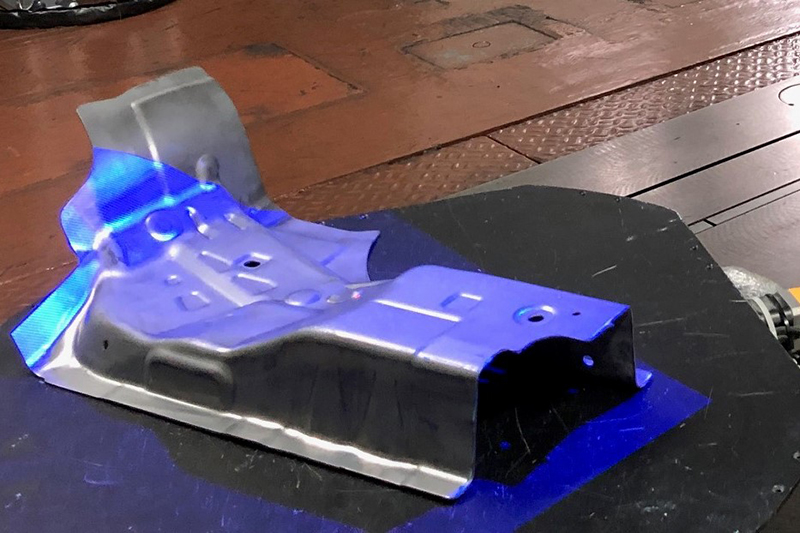
Besides, the chassis and body parts are very large, so workers have to move to measure with a conventional measuring machine, and the work of bending and stretching their waist is physically difficult. It is also tough to do such jobs in a factory where it’s very hot in summer and cold in winter. On the other hand, we can work in a well-organized environment with a non-contact 3D measurement system and reduce measurement time by controlling it.
Did you consider other manufacturer’s products, too?
Yes, we considered another company’s product their product was cheaper considering only the unit cost, but Tokyo Boeki Techno-System was more reasonable considering the development cost of the necessary functions, so I chose Tokyo Boeki Techno-system by comparing the total cost.
Other than the total cost, we also noticed the measurement data quality. Other company’s product corrects measurement data a little too much. The data of tiny dents and scars are smoothed and are not seen on the display. It looks beautiful on the screen, but what we need is “accurately measured shape” which even includes those tiny dents and shape changes so that we can fix panels and molds perfectly.
To learn information we need accurately – COMET was the one which made it possible.
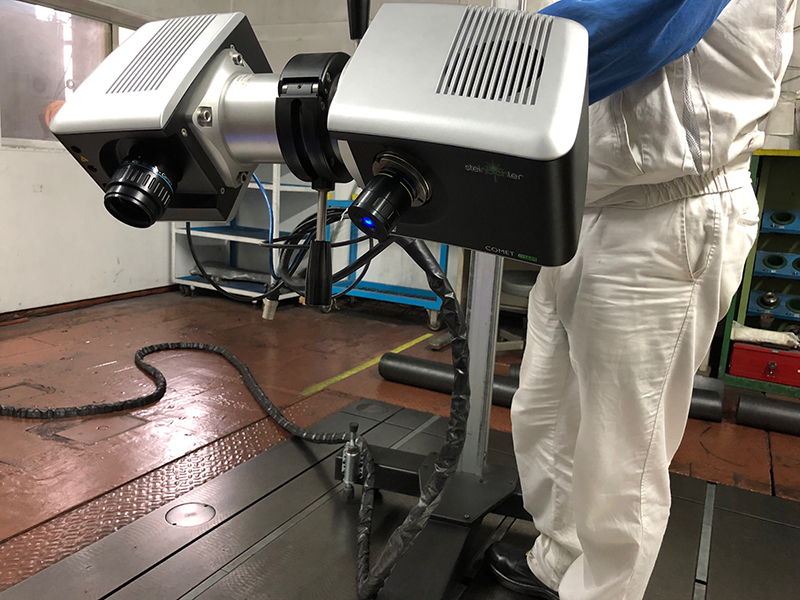
The maximum number of pixel was also the factor we chose COMET. As we’d used to the display of laser measurement machine, we were so impressed with the COMET data at the first glance. We thought like, “how could it be possible to display the wide range so early and beautifully!” Cloud points that COMET showed were so much smoother than we expected comparing with point clouds acquired via laser measurement machine and we had an impression that it was a device which measured each object sincerely. It was also good that application software was “spGauge” and “spScan”, which we were using.
What kind of benefit did you have from COMET?
Measurement speed increased, the numbers of work pieces to measure widely increased, and measurement accuracy increased. When labor that was used for measurement with conventional measurement machine is 100, we were expecting it would be 200 as the number of measurement time and parts drastically increased after introducing high-tensile steel. However, COMET reduces the physical burden of measurement and shortens the time it takes. Even if the number of measurements and measurement parts increase, the total effort is about 80.
The preparation term for mass production is getting shorter and shorter, and there is also a request from the post-process, such as “We want to correct the accuracy as soon as the panel comes out”. The real intention of the site is to take more time to fix than to measure. The correction cycle has become shorter as the measurement result can be told shortly after the measurement.
Cooperation with the mold manufacturer team accelerates the speed of quality improvement.
Is there any other benefit?
By measuring the thickness and mold of the process panel and applying the values to the simulation, the accuracy of desktop verification has been greatly improved.
It can be made quite a lot at the simulation stage, and the number of actual panel and mold corrections has been reduced. Even when corrections are made, accurate numerical values can be transmitted to the mold production department, enabling high-accurate correction at an early stage. By comparing the measured point cloud and CAD, it is possible to cut the interference part in advance.
To be honest, I think that the verification between the desk verification and the production site was not successful before. It was not efficient because there were discussions with sensory values. The person in charge of desk verification does not know the details of the site, and the person in charge of production does not know the desk verification. Because there were few opportunities to know each other’s work.
However, after the introduction of COMET, it is possible to share “how much distorted” thanks to accurate measurement values and color maps at a glance. For mold engineers, it is clear with the numerical value and color that “how many mm you can cut if you move your hand” and “which part you should cut”, it helps to improve the technology by combining the sense and the current situation.
Previously, even if the quality was adjusted with the first mold, there was no change log for the parts that were shaved by hand, so it took as much time as the first to make the second and third molds. Now, the second and subsequent dies can be quickly produced from the data. This is because the parts that have been corrected manually can be woven into the CAD, and an accurate shape can be created by machining.I think that the information exchange between departments has increased through the measured values of COMET, such as the analysis team and the mold production team, our company and other companies. Now that we have regular meetings on measured values, the speed of quality development has accelerated considerably. I feel that I can appreciate the information based on the correct information.
How is the use of device and software?
I think it is necessary to have a basic knowledge of what angle the measurement object should be taken from and why. In that respect, at the time of introduction, I took a lecture on from Tokyo Boeki Techno-system and they taught me exactly what I did not understand. Currently, we are educating how to use it only within the company.
We are also studying how to use them. At first, it was introduced for the purpose of measuring the shape of the process panel. However, since there was a suggestion to measure the plate thickness, a trial and error made it possible to find a method for accurate measurement with COMET. Previously, it was difficult to accurately measure the thickness of the plate, but after improving the measurement method repeatedly and verifying it over and over again, we were able to obtain a proof that accurate values were obtained. We are applying for a patent in cooperation with Tokyo Boeki Techno-system.
So there were positive effects on not only measurement speed but also cooperation between departments and technology development.
How are you going to use the machine from now on?
The key to our performance index is the accuracy of spring-back and plate thickness. This is very useful for increasing the degree of perfection by increasing the consistency with the simulation, so we will continue to improve the accuracy while applying the measured values.
If possible, I would like to know how to use COMET by interacting with other companies that have introduced measuring instruments. Of course, you can also share original technology such as plate thickness measurement here, and we may be able to dramatically improve our work with mutual knowledge. Some companies can actually visit us to see the technology. We expect Tokyo Boeki Techno-system for creating such opportunities in the future.

Y-TEC CORPORATION
Yamako Co., Ltd and Mitsuba Industries Co., Ltd established in Hiroshima City were merged into Y-TEC CORPORATION in 2001.
Y-TEC CORPORATION currently have 9 domestic factories and 5 overseas bases, and produces auto parts, molds, and assembly jigs for several major auto makers upon direct orders from such makers.
Their integrated production through design, development, and manufacturing is well organized based on cooperation with those auto makers and their skill to produce high-tensile parts with less weight is highly evaluated.
Product used in this case study
COMET
※This model is no longer in production and sales. We still offer support for our COMET users.
Please contact our sales staff for details.


