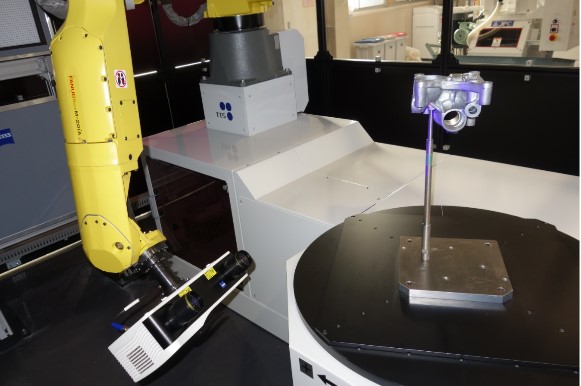
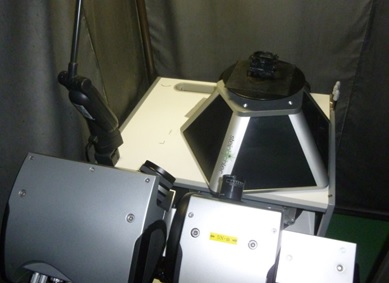
Camera-type 3D scanner
SANYO WORKS CO., LTD.
The camera-based 3D measuring machine allows in-line inspection to be completed in 15 minutes,
enabling quick and accurate evaluation of parts with complex shapes.
Development and manufacturing should always be accompanied by the idea of “what to verify.
Sanyo Works Co.,Ltd., headquartered in Yokohama City, Kanagawa Prefecture, was founded in 1953 with the main business of manufacturing and processing press dies for agricultural machinery engine parts. Since then, the company has expanded its business to include the production and processing of dies for office equipment and housings, and is currently involved in the production of equipment and housings for large facilities such as public facilities, famous halls and theaters, and seats for railroad cars.
Their main business is plastic working, including press work and forging on consignment, but a few years ago, they established a development and sales department to develop its own products and expand the market. In addition to products for interiors and exteriors, they are also designing, manufacturing, and creating control programs for industrial robot peripherals.

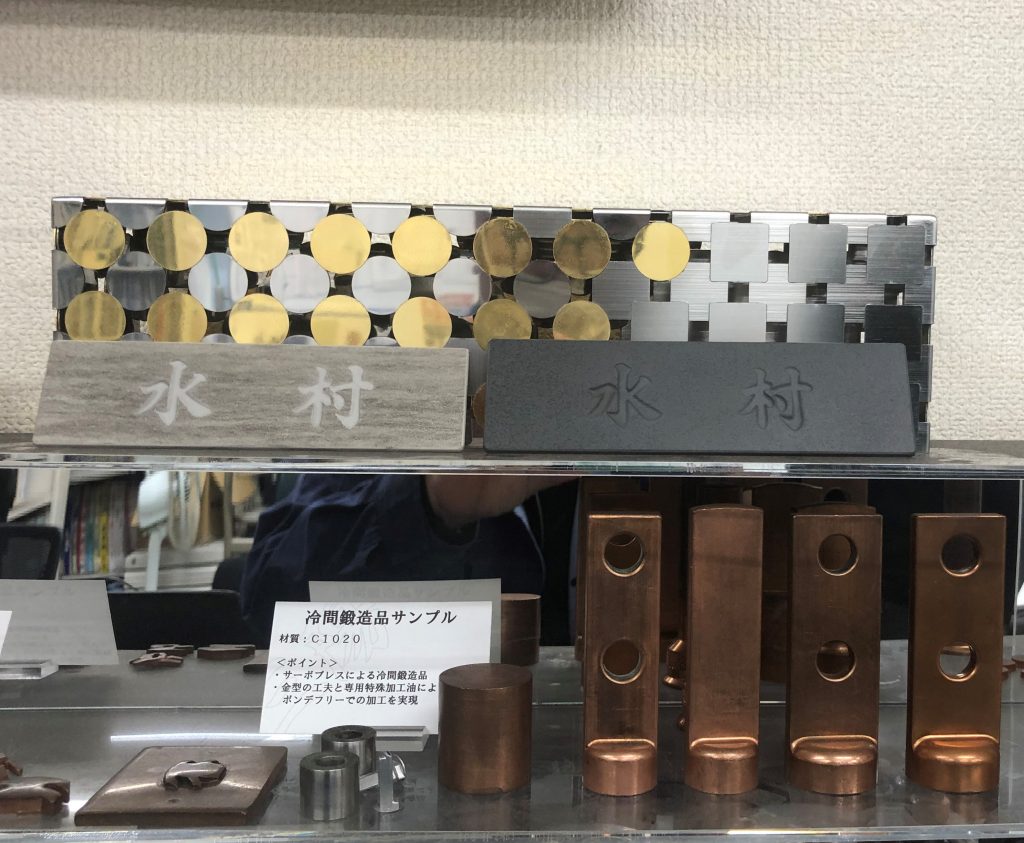
The driving force that allows them to expand into various fields is the speed with which they can do everything from modeling to designing, manufacturing, verification evaluation, and correction in-house. They have 13 units of 3D CAD and 5 units of 2D CAD, and have been highly evaluated by many companies for their various measuring instruments, as well as their high level of analysis capabilities using the FEM (Finite Element Method).
In the midst of further business expansion, they introduced Tokyo Boeki Techno System (hereinafter TTS)’s camera-type non-contact 3D scanner, reverse engineering software “spScan,” and 3D dimensional analysis software “PolyWorks Inspector™” in August 2020.The following is an interview with them about what has changed since the introduction of the products of TTS and how they plan to utilize them in their future business.
- Problems:
-
- They manufactured parts with complex 3D shapes, but could not find an appropriate verification method.
- The measurement of parts had been outsourced, costing several days of time and money.
- They wanted a measuring instrument that could be used not only after molding but also on an in-line system during the fabrication stage.
- Solutions:
-
- The combination of a measuring machine and their own technology to prevent light reflection enables them to obtain absolute values every time.
- Inline measurement can be done in about 15 minutes in-house, greatly improving production speed.
- The precise measurement results reveal points for improvement that were previously unnoticed, leading to higher quality.
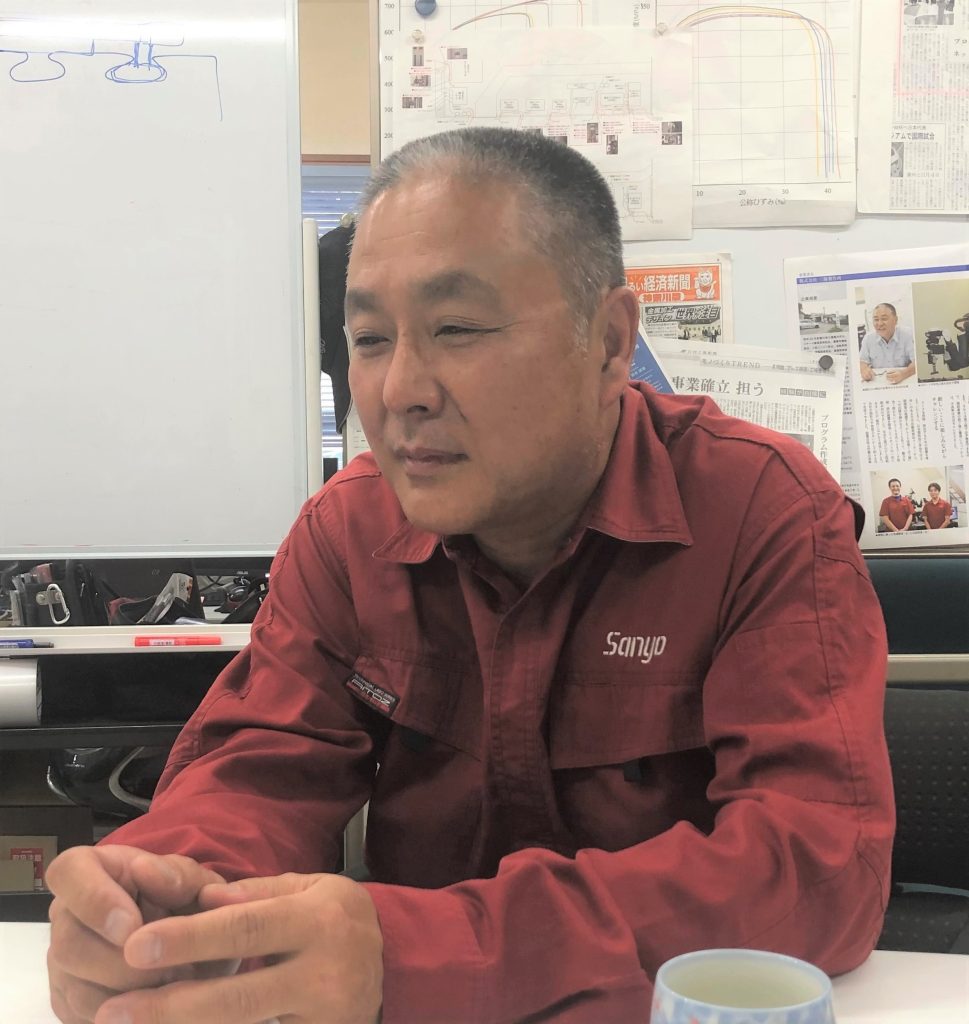
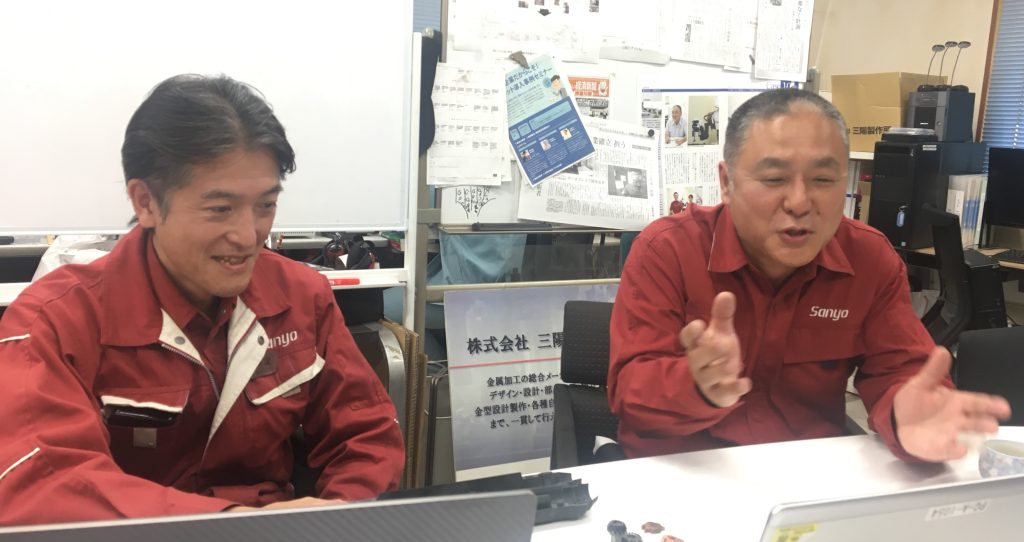
Shigeru Mizumura, President and CEO
He is leading the business expansion as a leader who knows the field. He has set up a development and sales department, and is creating new work that goes beyond the existing mold processing business by coming up with his own ideas.
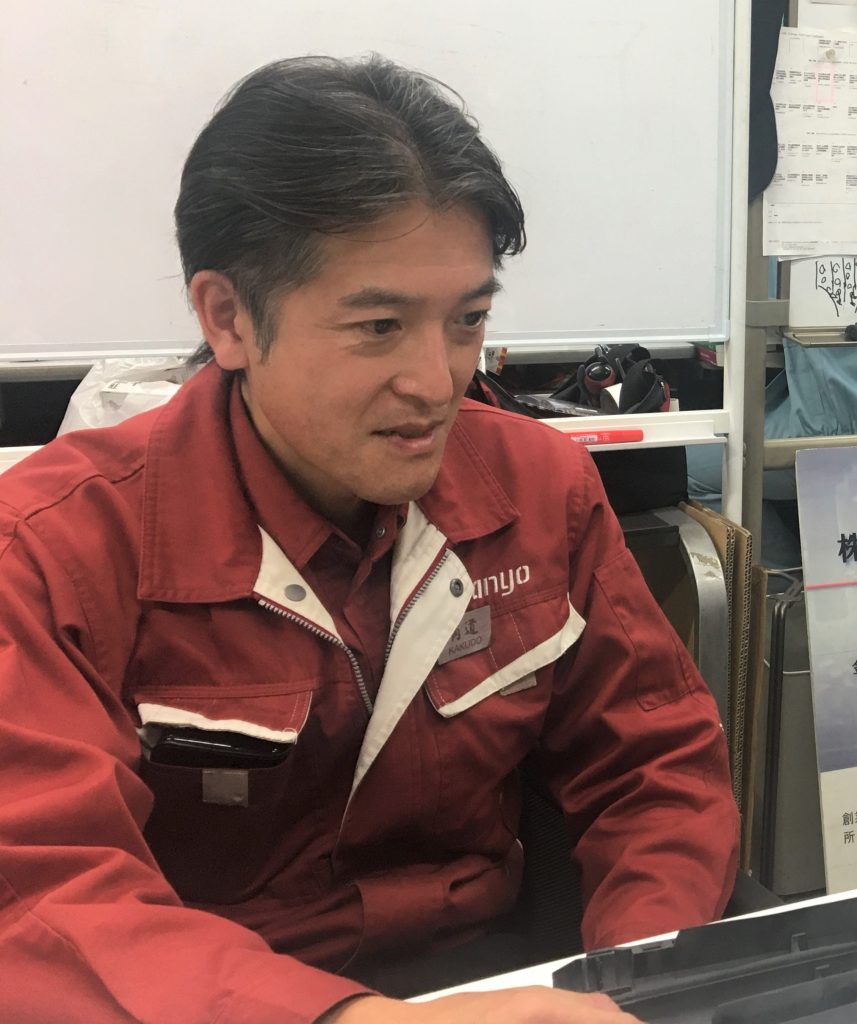
Masato Kakudo, Director, General Manager of Development Sales Dept.
He is in charge of metal processing technologies such as cold forging as well as the development of their own products. He has found an anti-reflection technology that overcomes the weakness in the introduction of camera-type 3D measuring machines, and is currently applying for a patent.
Quickly measures gears with complex shapes to support mass production and quality
What are the current applications of the camera-based non-contact 3D scanner that was introduced in 2020?
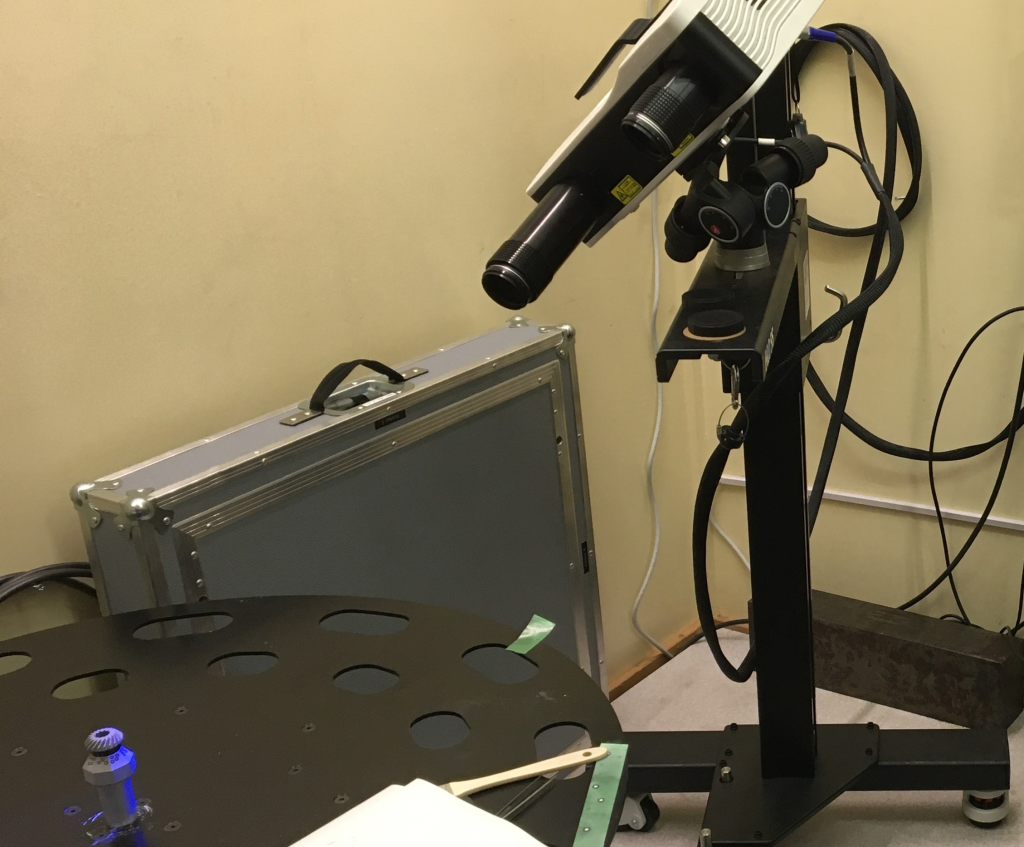
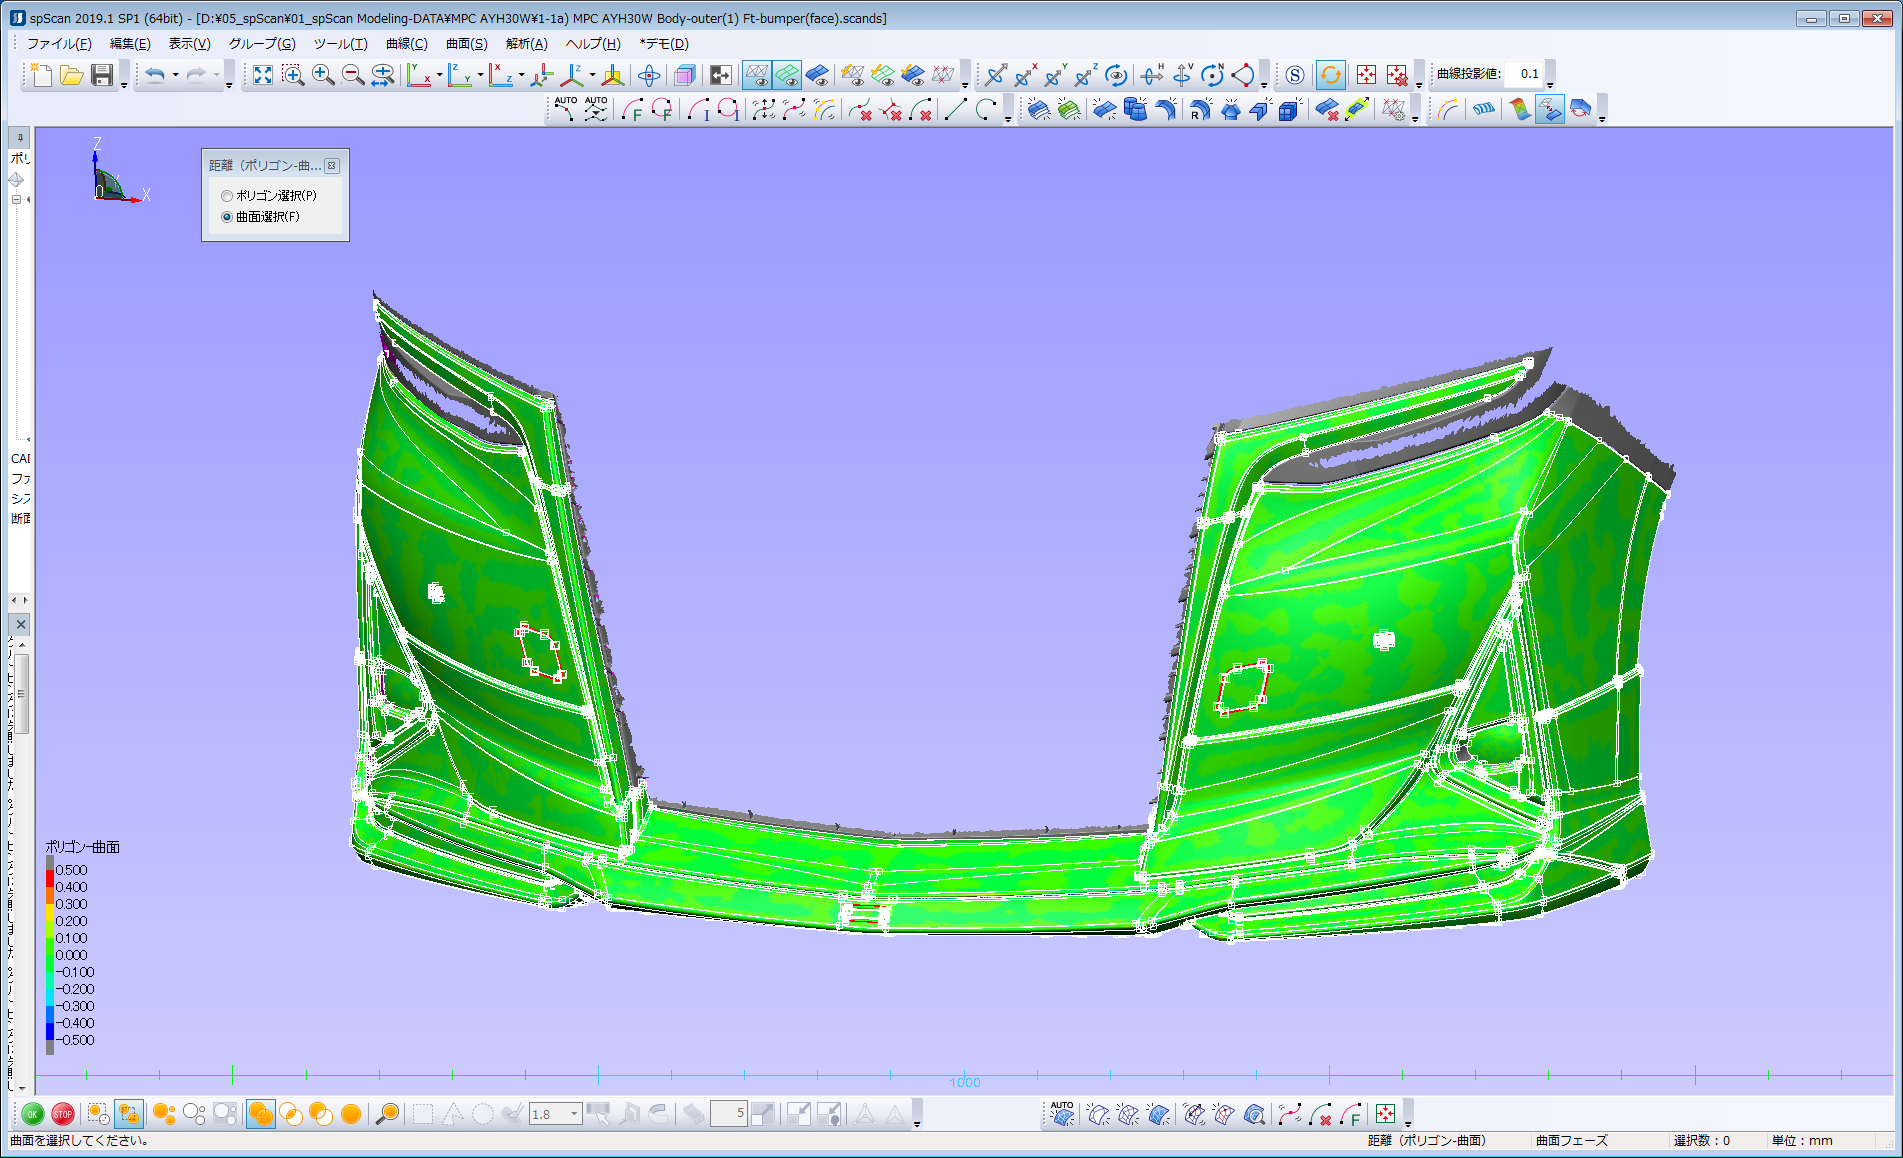
Masato Kakudo (hereinafter Kakudo): In addition to using it to evaluate parts with complex 3D shapes, we also use it in our reverse engineering business to create 3D CAD data for parts for which there are no drawings.
For example, in the gears we manufacture, the teeth that mesh with each other have a wavy twist rather than a mere radius. Parts with this kind of shape cannot be measured with ordinary measuring instruments. There are contact-type measuring instruments specifically for gears, but they can only be used for gears and are very expensive. When we thought about how to measure them, we came to the conclusion that a 3D digitizer would be the best choice.
The same is true for copper cold forged products. It is a complex shape with straight and curved lines in three dimensions, so it cannot be measured by geometric measurement methods such as calipers.
Shigeru Mizumura (hereinafter Mizumura): We have a net-shape system that can produce the final shape in one shot, and we can produce dozens of pieces in one minute. However, in order to bring the product out to the world, we need to consider how to verify and guarantee the quality of the product.
We wanted to use inline inspection to verify the quality in a short time if possible, and that’s when we found the 3D digitizer.
However, the 3D digitizer itself is not yet recognized as a measuring instrument. Therefore, after consulting with the client, we decided to use the standard deviation of the error between the CAD data and the measured values to determine OK/NG. Now that we had an idea of how to operate the system as a measuring instrument after its introduction, we began to select a model.
In manufacturing, the first priority is to determine what to verify at the same time as development. No manufacturer can make products without guaranteeing their quality. Manufacturing parts with complex 3D shapes was a new challenge for us. We knew we had to include tools for verification.
So, how did you do the measurements when you started development?
Kakudo: We had to outsource to a place that had a gear measuring machine to verify. It was up to them when they would give us the measurement results. Sometimes we had to wait a week if they were busy, and it was expensive. But we had no control over this.
Mizumura:As an absolute requirement, if you can’t verify, you can’t develop. That’s why it’s essential to have an environment where inline verification can be done at the company’s own pace and reflected immediately.
There are not many companies that go that far, but only when they can do so can they be said to have become a manufacturer.
Did you compare your measurement system with those of other companies before introducing it?
Mizumura: Yes, I considered several companies. First, I consulted Company A based on price, but while they were easy to use, they were not accurate. Company B didn’t work either. Company C seemed to be able to do it, but when I visited them again, they told me that they had given up. To be honest, that’s when we started looking into TTS.
In terms of funding, we used public subsidies. We were able to successfully pass the “Monozukuri Subsidy (literally means “Manufacturing Subsidy”)” examination led by the Small and Medium Enterprise Agency, which greatly helped us to introduce the measuring machine.
The development of anti-reflective agent technology began with an inspiration just before its introduction
You introduced the measuring machine in August 2020, but you developed a measurement technique using “ultra-low pressure shot blasting” in July just before the introduction. So it was before the introduction.
Kakudo: This is a technology that we discovered during the time we were testing. For our purposes, we wanted to use the new measuring machine for inline measurement and verification of parts with 3D complex shapes. We were testing it in cooperation with the sales and technical staff of TTS to see if we could do that.
Mizumura: When I first saw the measuring machine, I thought, “It’s very accurate and good.” But when I actually went to measure a sample, the moment the staff held a spray can, I thought, “Oh, this is no good. Looks like it’ll be analog here…”
Considering the material, spraying an anti-reflective agent is inevitable. However, a precision machine that can measure down to 2/100mm will measure the thickness of the antireflective agent and the measurement result will deviate from the absolute value. The more complex the shape, the more likely it is that spray puddles and irregularities form on uneven surfaces.
However, as a compromise, we also thought that relative values would be fine. Even though it was impossible to obtain absolute values, it might be possible if we developed an automatic sprayer that could spray evenly, but that would not be cost effective, but there was no other way to measure… We were in such a dilemma.
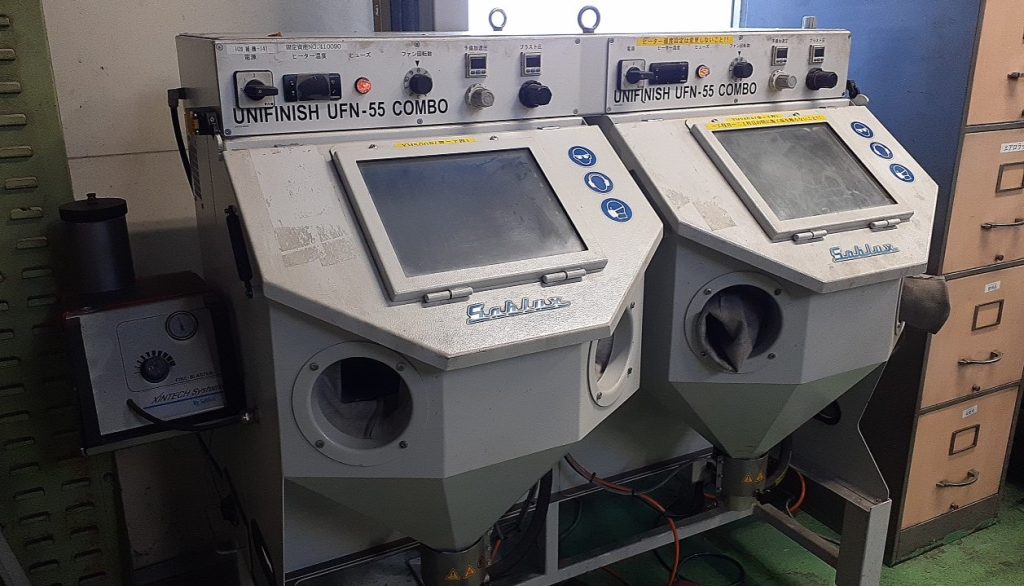
Kakudo: When we were all thinking of ways to do this, we were inspired by the idea of using shot blasting equipment for mold polishing. Ordinary shot blasting equipment is powerful enough to be used for rust removal, etc., but the equipment we had was a low-pressure blast to be used for polishing molds, and we had confirmed that there was no damage that would change the dimensions with an electron microscope.
When we tried it on actual products, the dimensions after processing changed by only 2/1000mm. We were convinced that this was a viable measuring instrument then, so we decided to officially introduce it.
Mizumura: We are in the process of applying for a patent for this technology, and are also introducing it to various companies as open innovation. I think it has become a more profound technology as we are now able to obtain absolute values that were not expected.
Effectiveness in resin measurement and determination of elastic deformation and springback
What effects or changes have you seen since you started using the product?
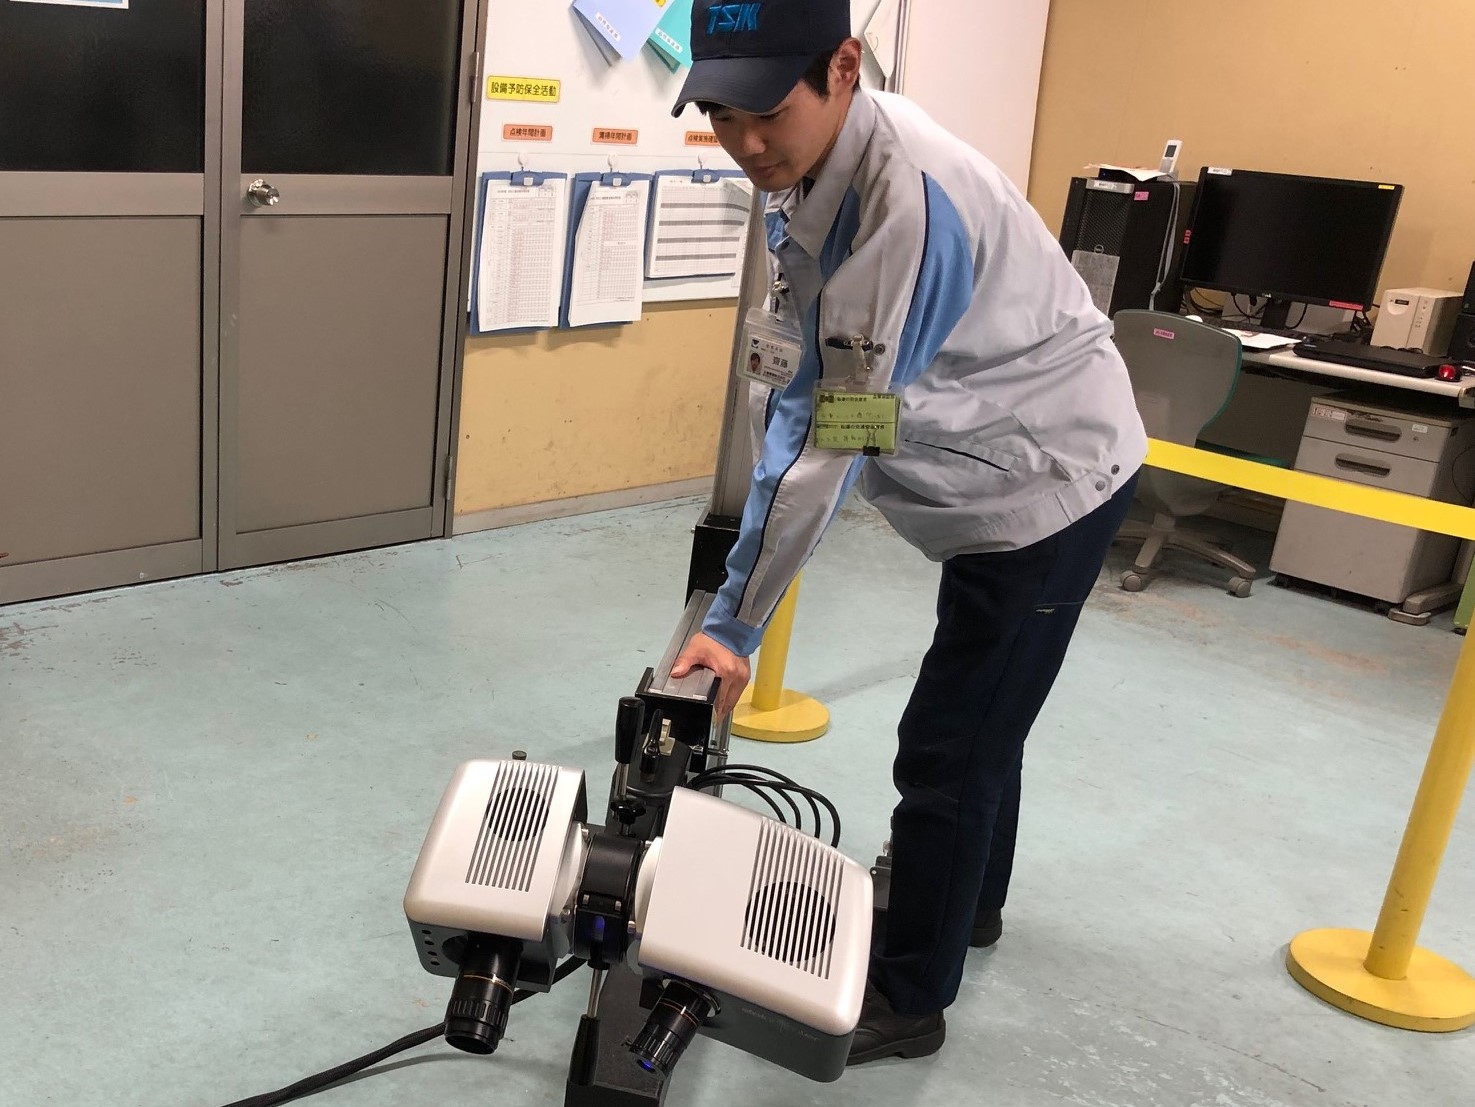
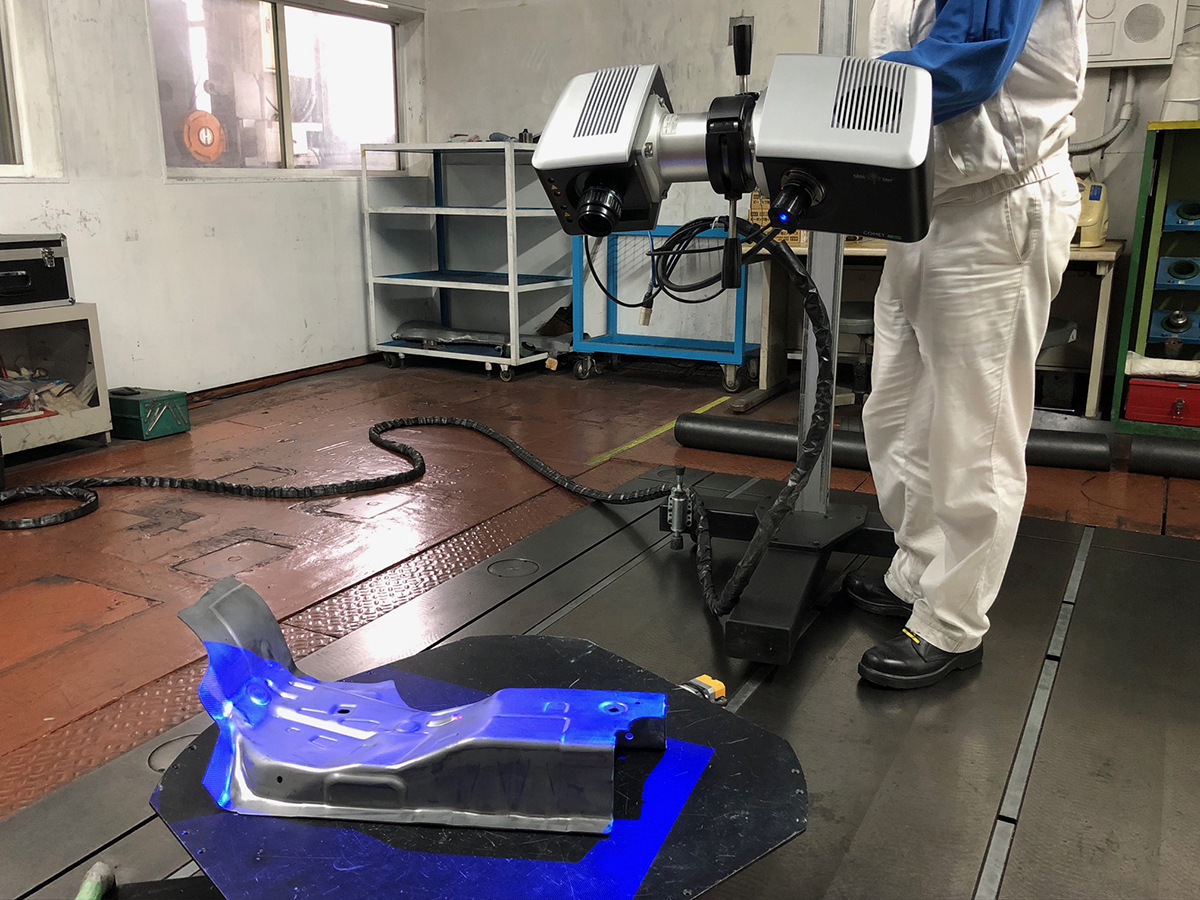
Mizumura: For the measurement of parts with complex 3D shapes, it can be done in 15 minutes while it used to take a week to outsource the work, which has greatly increased the production speed. We think another important point is that the analysis software has been customized so that anyone can easily measure almost automatically at the site.
In the development department, we do matrix evaluations from all directions, so my sense of measurement has been brushed up. We made a hypothesis that this would happen and measured it to confirm that it really did happen, and we were able to clearly see the difference between elastic deformation and springback through repeated measurements.
Of course, the results are reflected in the manufacturing process, which contributes to quality improvement.
What surprised us the most was the ability to measure even the complex shape of resin with high accuracy.
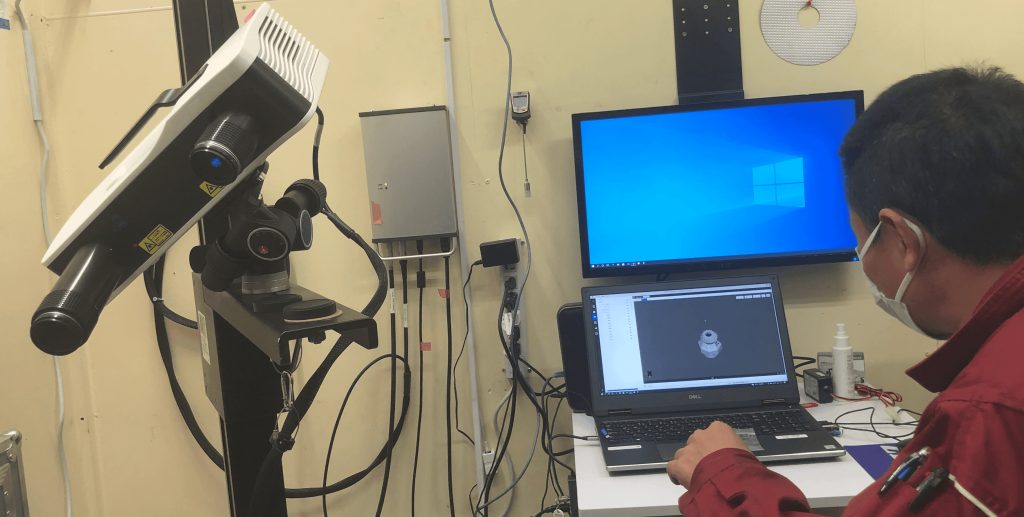
Kakudo: In the past, it was impossible to measure complex shapes with intricate fine ribs. But with ultra-low pressure blasting, we can apply anti-reflective treatment to even the thinnest grooves, and the resin can be measured cleanly.
Mizumura: Right, it was amazing.
So you were proactive in conducting trials before introduction of the equipment. How was the response of the sales and technical staff of TTS?
Mizumura: It’s great. We have dealt with many different companies, and the color of the company comes out in the difference in response. There are several companies that we consider “great companies,” and TTS is definitely one of them. It’s fun to work with them.
Kakudo: In particular, for “spScan” and “PolyWorks Inspector™”, we asked them to develop a system for evaluating the measurement results in a package specially designed for us. We made a number of requests because it is a special system that combines dozens of processes into a few, but they responded accurately and speedily.
What kind of development do you want to do in the future by improving your analysis and development capabilities further?
Kakudo: We are planning to strengthen our engineering department to even receive orders for only reverse engineering and analysis. Our strength is that we can not only scan and create data but also create new designs and improvements. We would like to increase the number of clients who know our technology and keep coming back to us.
Mizumura: In the past, we have expanded our business to 3D measurement of historical artifacts, development of processing methods for special metal materials, and production of robot peripheral equipment. We hope to do good work with clients who choose us for our technical capabilities rather than our price.

Sanyo Works Co.,Ltd.
A comprehensive metal processing manufacturer established in 1953. In addition to contract manufacturing of parts, the company’s in-house design and engineering department is capable of creating drawings and performing analysis and reverse engineering using a variety of equipment. The company is already highly regarded both inside and outside the industry for its diverse technological capabilities and application skills. In the interior, exterior, and robotics fields, they have begun developing their own products and are taking on the challenge of developing new markets. In 2020, the company made a splash by developing the “ultra-low pressure shot blasting” technology for precise measurement of 3D complex-shaped parts.
Product used in this case study
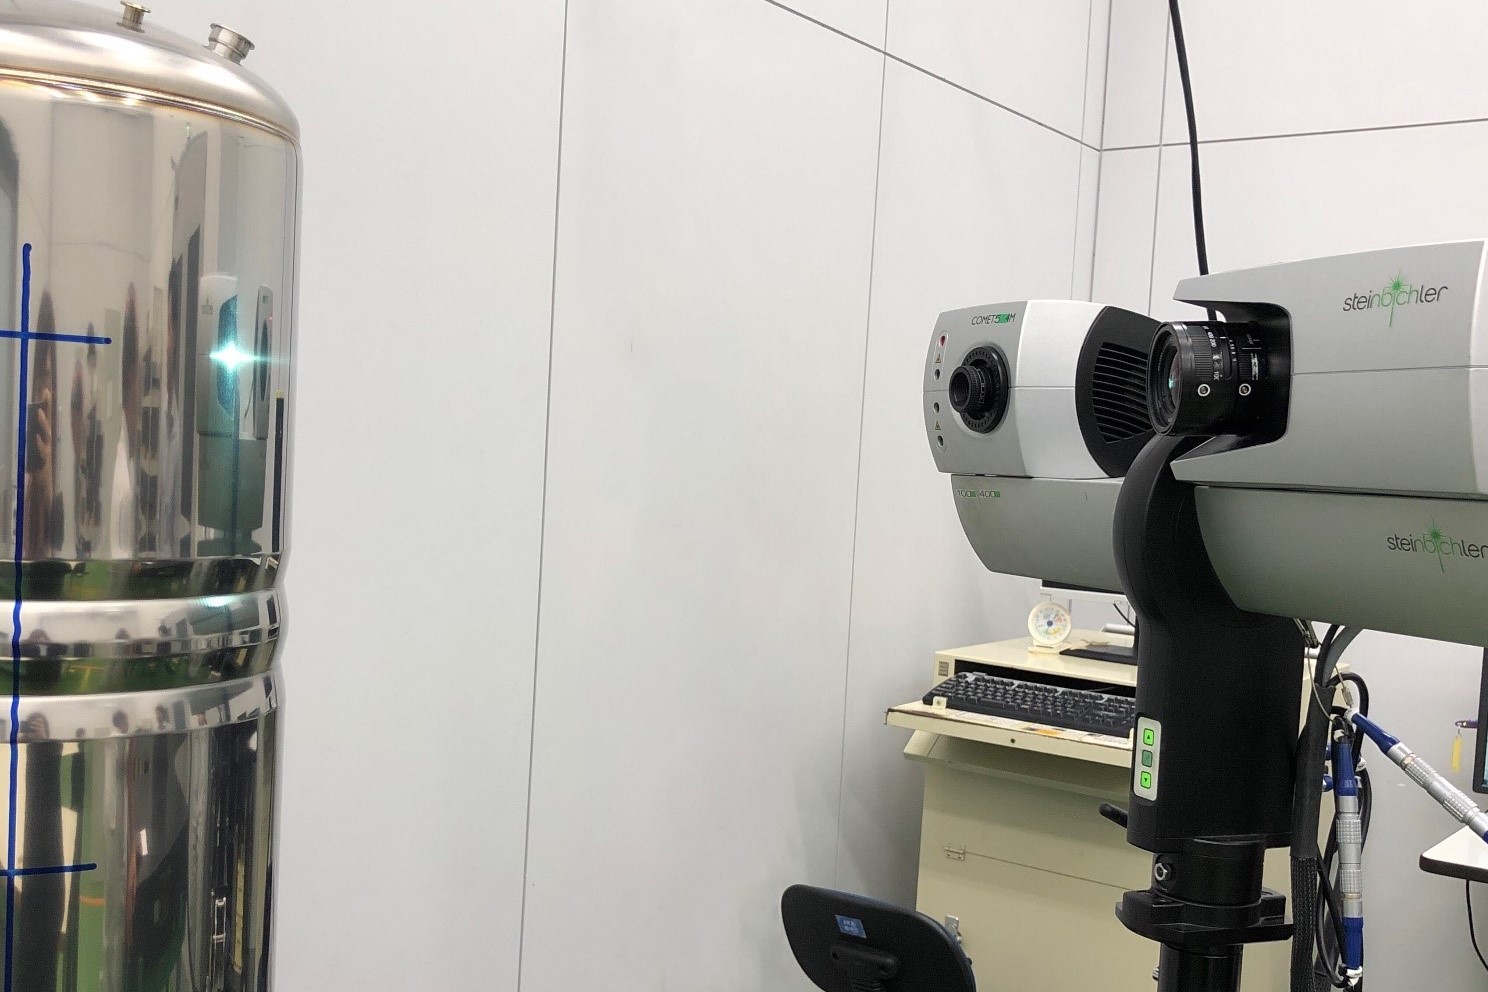
COMET
※This model is no longer in production and sales. We still offer support for our COMET users. Please contact our sales staff for details. Also, please see the page of new camera-type 3D scanner FLARE series.


